Top 5 Essential Tips & 5 Apps for iPhoneography to Shoot Like a Pro
Street Photography in Paris with the iPhone 4s
Welcome to the World of iPhoneography. Steve Jobs and Apple Inc. have changed the way we see the world. Unless you’ve been hanging out in a mountain cave or chill’n in a hammock on a remote island with an icy Corona for the last few years, you probably know the iPhone 4s and iPhone 5 have become the preferred camera for millions of people across the globe. The iPhone has reshaped how we see the world. The release of the iPhone 4s [October 4, 2011…yours truly got one of the first ones] and now the iPhone 5 [September 21, 2012…holding off on that purchase till my iPhone 4s bites the dust] brought a paradigm shift in the way we communicate visually. In this article I’ll give specific examples of how I shot street photography in Paris with the iPhone 4s and 5 Tips & 5 Apps to Help You Shoot Like a Pro. I’ll talk about what apps were used in camera to process the photographs, and how the iPhone photographs are archived. Just as an FYI no laptop or desktop Adobe Photoshop™ was used on any of these images everything was processed in camera.
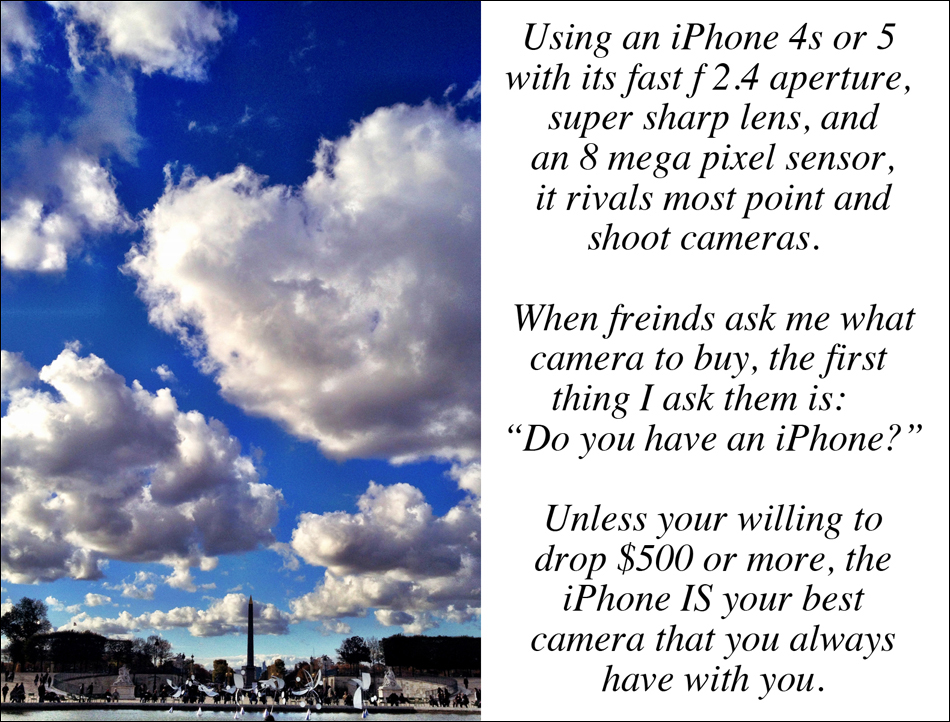
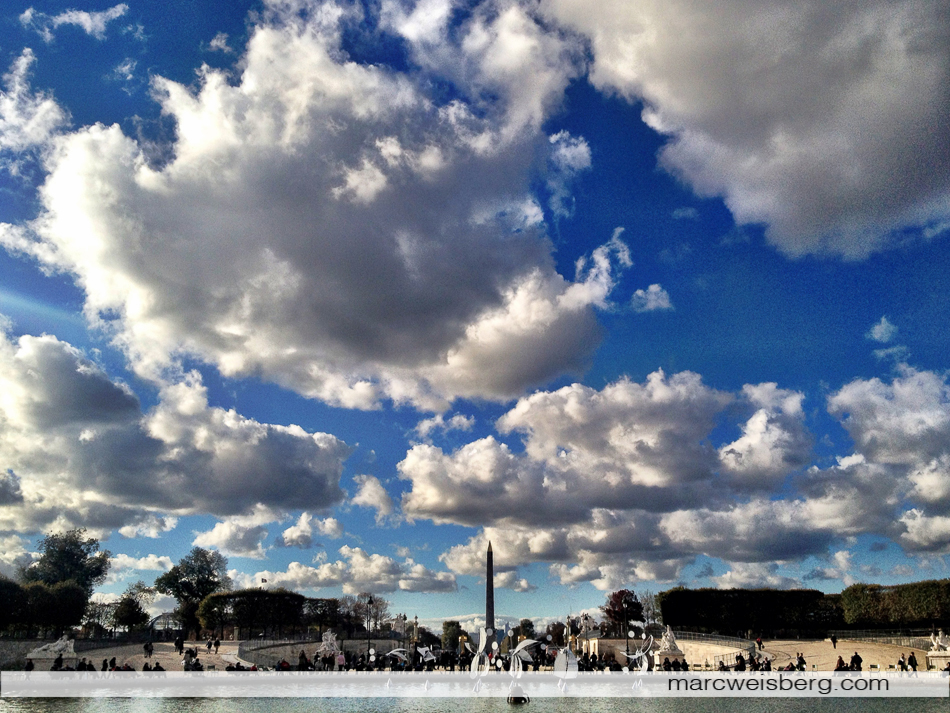
Tuileries at the Louvre looking toward Place de Concorde and the Champs Elysee. Captured on the iPhone 4s edited in Camera+
A Brief iPhone History
In June of 2007 Apple introduced the iPhone 1. Things started to get a bit interesting with the iPhone 3Gs but it still had a paltry 3 megapixel camera and photographic captures were cool but just okay looking. Nothing to write your mom about. Along came the 4G which bumped up the resolution to 5 megapixels with and 720p Video <interesting>.
The iPhone Wow Factor
Today’s iPhone 4s and iPhone 5 boast 8 megapixel sensors with 3264×2448 pixels resolution. (2.5 times more resolution than the iPhone 3Gs) a fast f 2.4 aperture, with 80-1000 ISO, and HD 1080p video @30fps. That’s the WOW factor baby! Plug the pixel resolution into Adobe Photoshop and it equates to an 8.16′ x 10.88′ print @ 300 dpi. With the ability to edit with free or nominally priced photo apps right onboard, the iPhone 4s and 5 IS the go anywhere, have with you all the time perfect pocket camera.
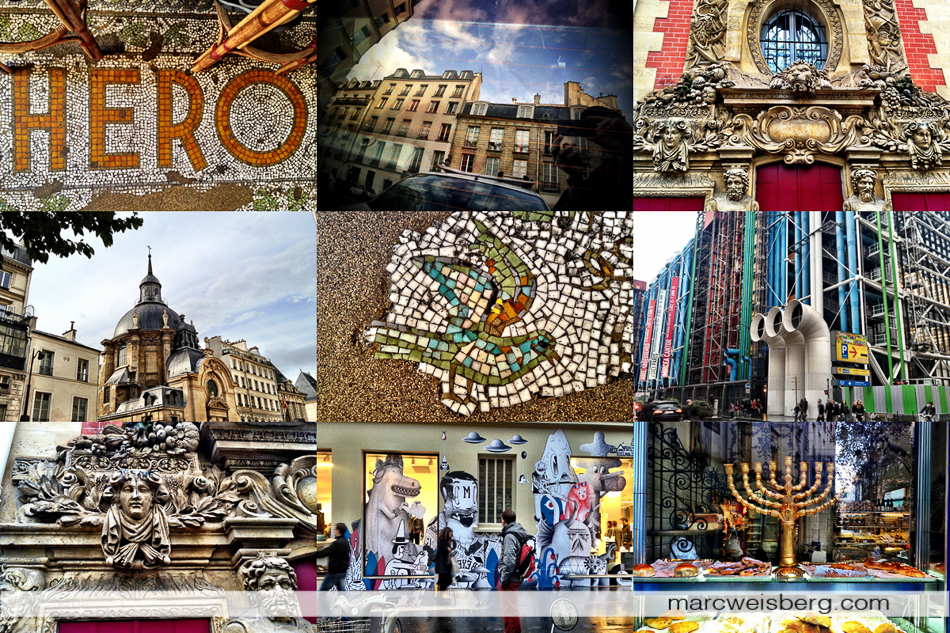
Montage of Paris vignettes. Created in ProSelect Pro
My Thoughts on iPhoneography
Even though at times I was carrying my Olympus OMD EM5 with me and a host of super fast primes, my iPhone 4s was always in my pocket. Some times I’d manipulate my iPhone with one hand while holding a crepe or pastry in the other, to turn it on, quickly compose and grab a shot, and other times I’d use both hands to carefully, steady it and compose my image. When it was raining, like every day for most my trip in Paris this year, there were times that I’d leave my Oly in the shoulder bag and whip out my iPhone 4s. Sure it would get a bit wet but it would still do the job.
The tonal range, dynamic range and clarity of the iPhone snaps is stagering. Colors are natural and rich with little image distortion. No wonder why the point and shoot camera market is in decline, the iPhone is a point and shoot killer. With the iPhone 4s and above you always have a remarkable camera in our purse or pocket and the ability to do video and connect with the entire planet.
I get allot of friends asking me what kind of camera should they buy. One of the first things that I ask them is how much they are willing to spend. The typical answer is $200-$300 bucks. The next thing that I ask is do you own an iPhone? If you are not willing to spend a least $400-$500 on a camera, you are better off shooting with your iPhone. And sometimes, even if you are willing to spend $500 you still should consider using your iPhone. Other compelling factors are the myriad of photo Apps that you can use to edit, finesse and massage your images. Then share them with family, friends and through Social media streams like Facebook, Twitter, Flickr and Instagram.
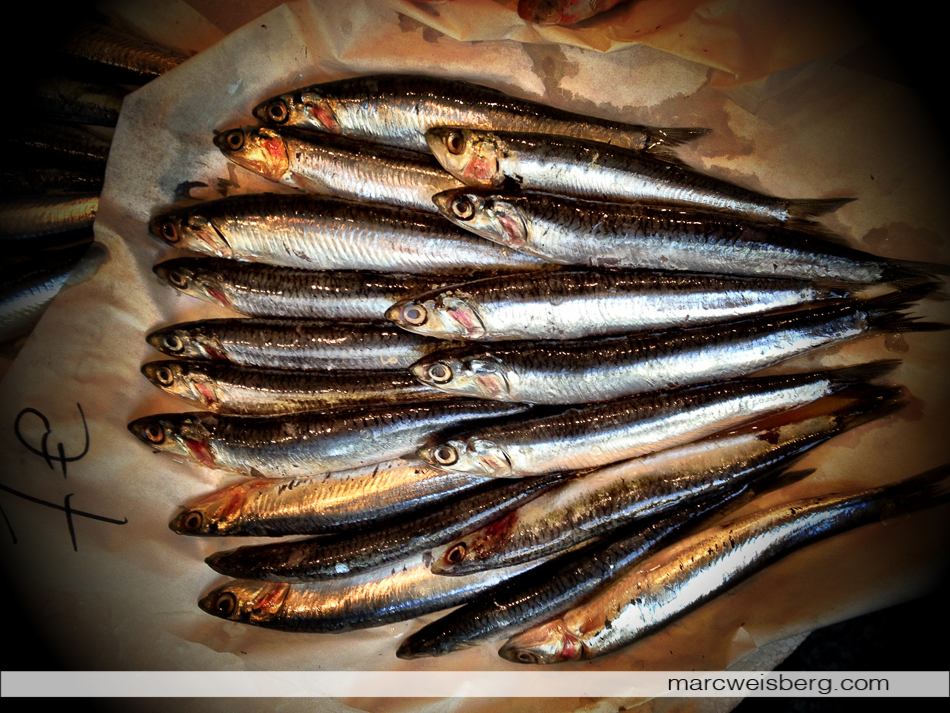
Sardines, marche Bastille, Paris. Captured on iPhone 4s edited in Camera+ App
Will iPhoneography Replace DSLR’s or MFT’s?
I don’t think so and here’s why: Every tool or creative medium has its place. DSLR’s have their place in my photography studio. Since purchasing my Olympus gear I never take my Canon pro gear with me on when traveling or road tripping. Instead I use my pro gear for my portrait photography and paying gigs. The image quality my Canon gear produces is exacting, highly repeatable, and gives me accurate and controllable results that my clients and I expect for professional grade portraiture. Similarly my MFT’s Olympus gear although I may employ it to supplement my DSLR portrait work, at this point in time it is not a replacement, but its my go to travel camera set up.
That being said….I can certainly see using my iPhone to record some HD video or a sound clip from my portrait sessions or to use it for both in an upcoming personal project. iPhoneography has a firm foothold in my arsenal. Its always with me and my most accessible camera. Whatever camera you use, the same rules apply… light, composition and perspective. These three factors: light, perspective and composition can take the mundane and illuminate it, take the common place and showcase it in a new way and creatively frame it. For me, my iPhoneography is all about instant gratification, fun and experimentation. However, there is one guy i know of, Brad Mangin, who used his iPhone in a professional capacity for a Sports Illustrated shoot.
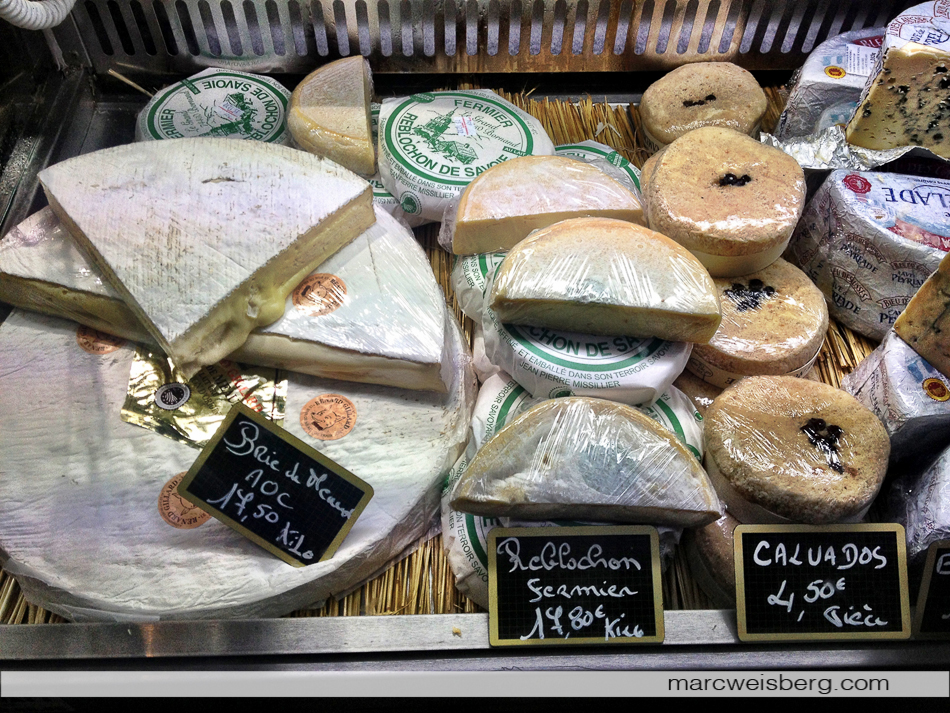
Formagerie, Paris
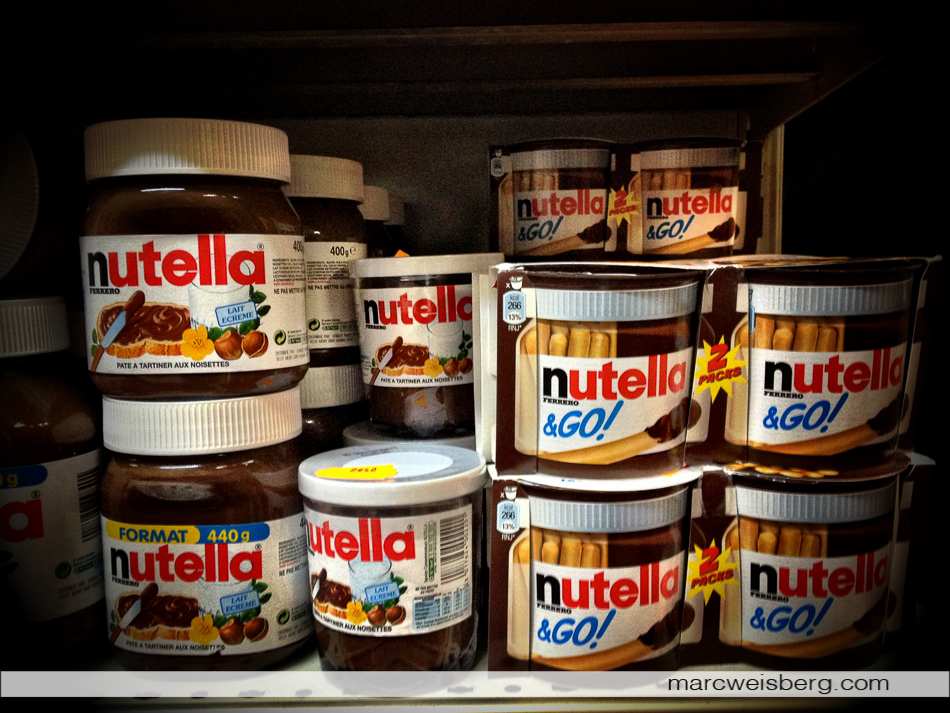
Nutella, middle eastern grocer, Marias, Paris, captured on iPhone 4s, edited in Camera+ App.
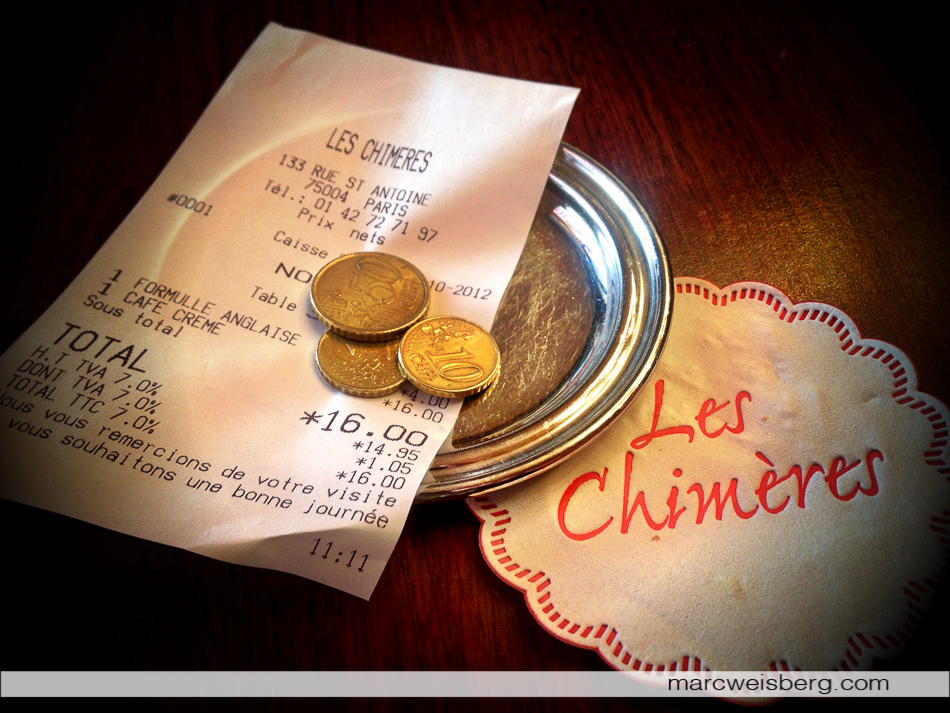
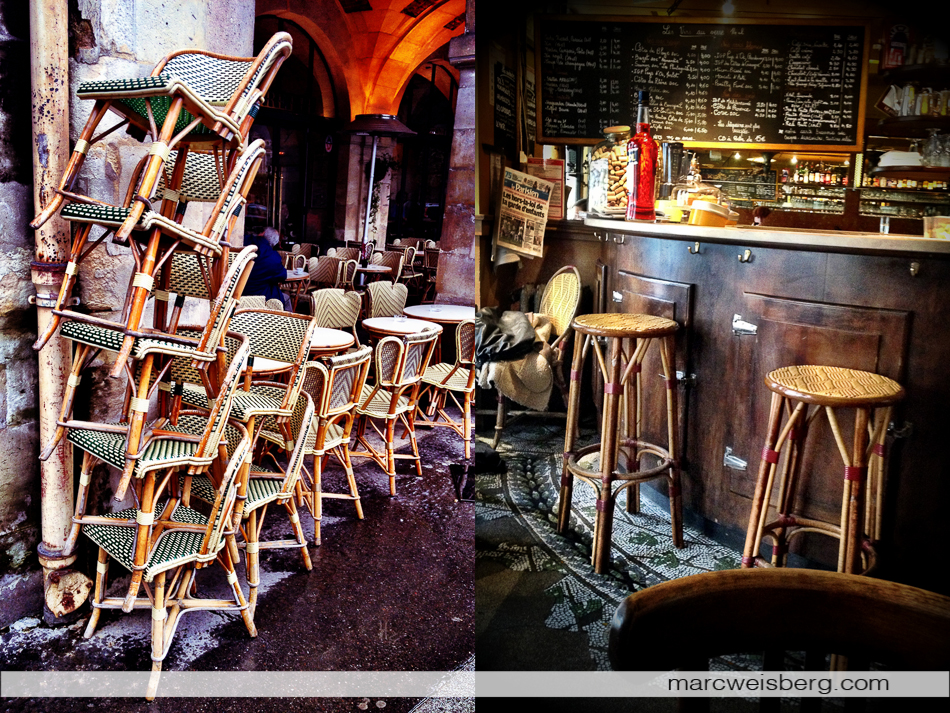
Tip 1: iPhoneography is nonthreatening. The iPhone is so small that most people are not threatened by it if your using it for street photography. There are several ways that you can use it in stealth mode. In Parisian cafes I’d often turn it length wise in landscape, resting it on its edge of a table top, shooting it with one hand just kind of looking at it for composition out of the corner of my eye. Below you’ll see a diptych of smokers during the evening both captured camera unaware. For the one on the left I was standing on the side walk, it was drizzling and I was waiting for a friend and checking my email. The waiter walked right into the graffiti scene. I pretended to send a text message and instead quickly turned on the camera, composed the image and fired off three frames. Bang, the moment was gone but I had luckily captured the image I wanted. The overhead light illuminated the scene. You can see the sharp delineation of shadow at the foot of the roll up door and the scooter.
For the image on the right, I was out at night walking around the Marais, with my buddy Trevor, actively looking for things to photograph and saw a man in the doorway totally engulfed in a phone conversation while smoking a cigarette. Since he wasn’t paying any attention to what was going on in the street, which was fairly busy with people walking about, I stopped for a second or two and grabbed a few frames. If I remember correctly, all of them were fairly blurry but the one was acceptably sharp. The iPhone is capable of getting some great exposures in low light. It helped that there was an overhead light with stainless steel doors to bounce the light around a bit. A slow shutter speed is evident from the blurred pedestrian to the right. For ultra stealth mode you can use the + and – volume buttons on your headset to snap off your images. I have a friend who turns her back to her subjects and uses the front facing iChat camera to take capture street photography over her shoulder and behind her back. Street Tip: Practice. Snap, snap, snap. When out walking the city actively look for subjects to photograph. Stealthiness and shooting street with an iPhone takes practice.
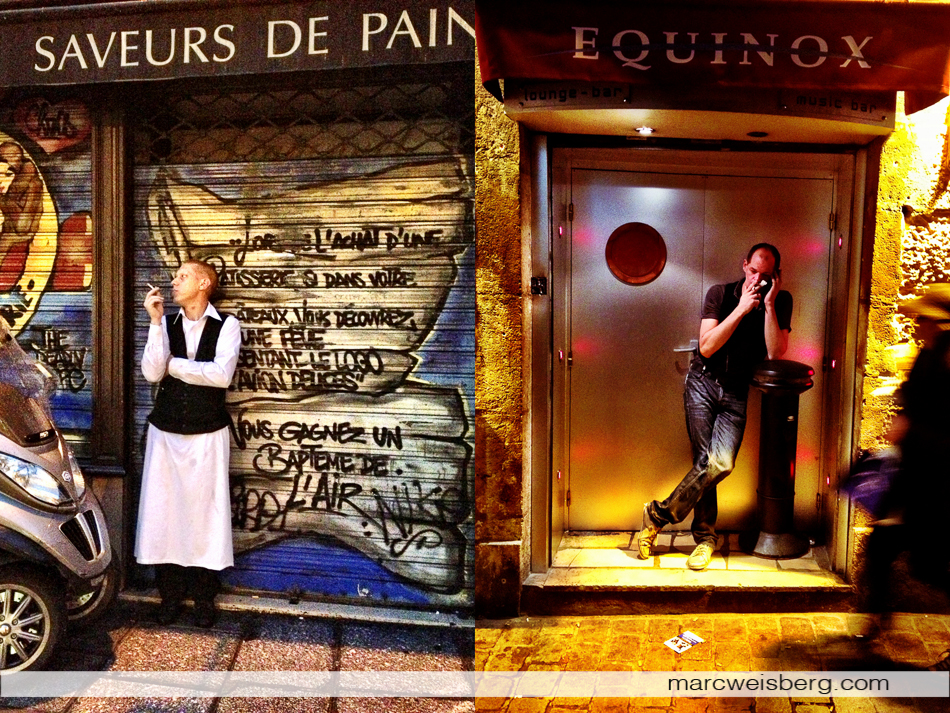
Smokers, Marias, Paris, iPhone 4s
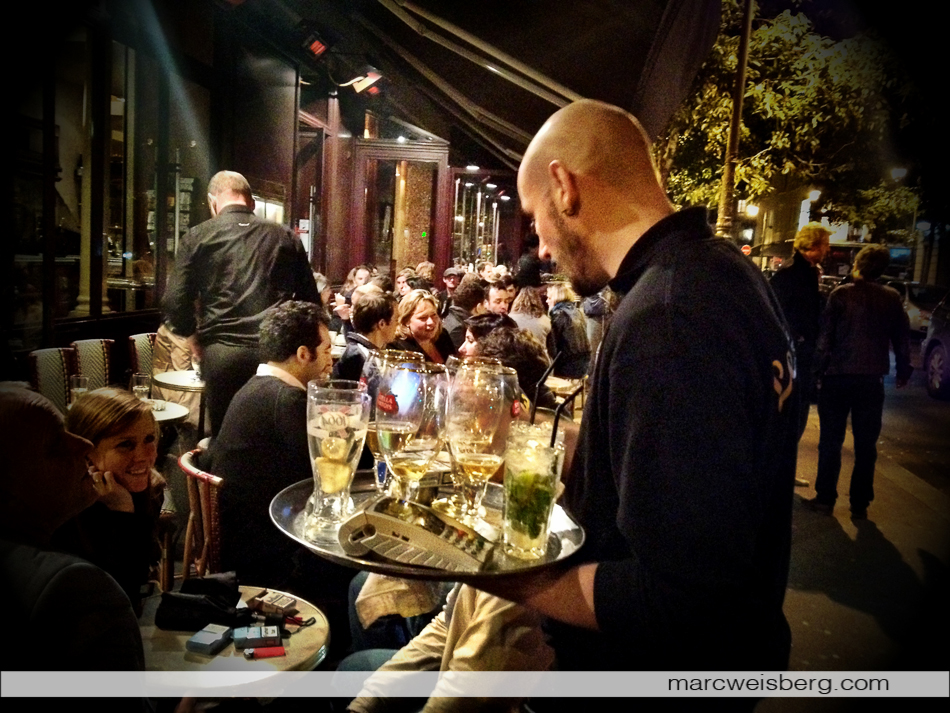
Nighttime cafe capture with the iPhone 4s.
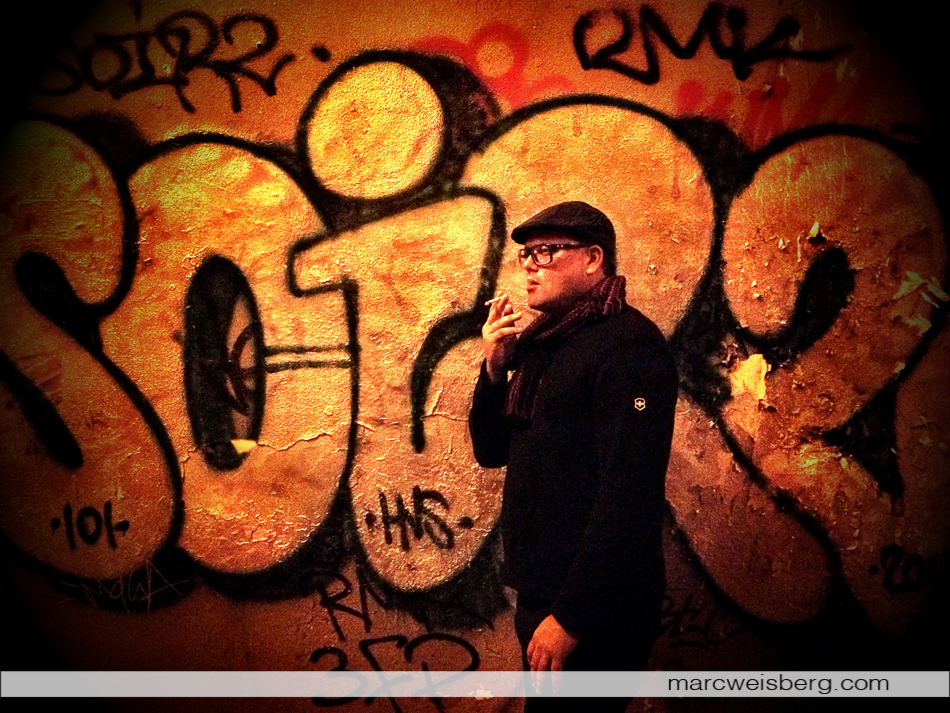
Nigh time graffiti portrait of Trevor, Marais, Paris
Tip 2: Look for the light. If the light is crappy, let your feet do the walking and find some amazing or interesting light. For the night photo above I asked my buddy Trevor to turn towards the light. Sometimes you’ve just gotta give up the shot or come back and make it later if the lights not working well. In big cities I find that there is always great light during the day somewhere. For instance, if you are in Times Square NYC at night, there is so much light that it looks like daytime. You can find light bouncing off a building, reflecting off a shinny surface, or open shade on the opposite side of the street. Have you ever heard that line about Eskimos having a hundred words for different types of snow? Well recently I learned its a myth.
However, unlike the Eskimo myth, there are all sorts of different words we can use to describe the quality of light …. light that you can learn to see and search for. The quality of light changes the feeling of the image. There is raking light, open shadow, hard edged light and shadow, reflective light, soft light, hard light, diffused light, light filtered through and opaque object, window light, portico light, back lighting and so on. All these different types of light will yield a different feeling. The iPhone is great at capturing all types of lighting scenarios. On the native camera app that ships with the iPhone you can move around a little box with your finger that will do two things: A) It will focus the camera and B) It will adjust the exposure of the object you are photographing.
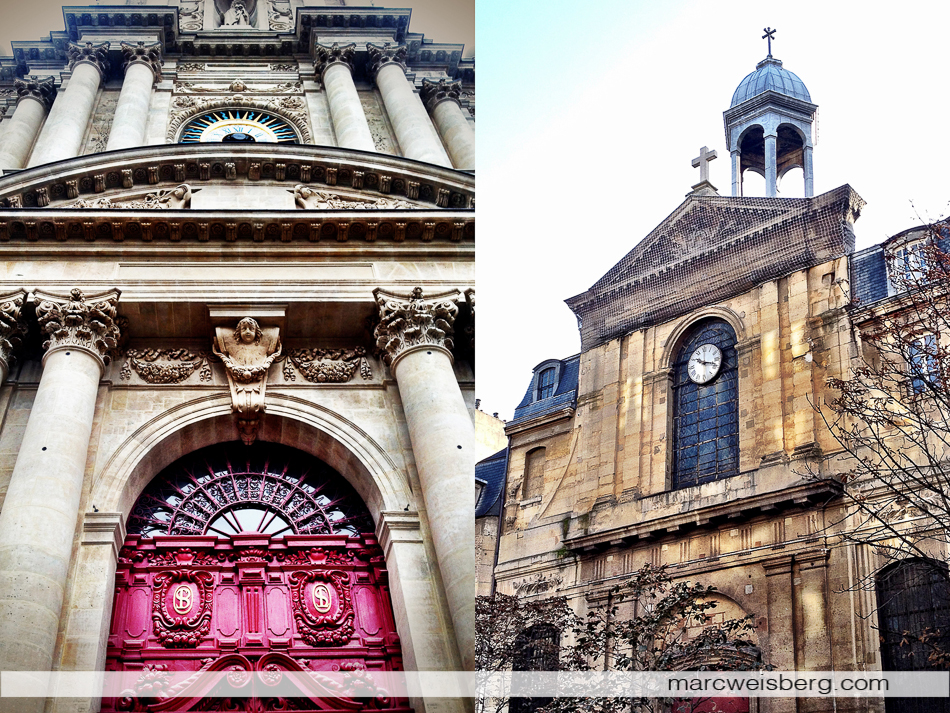
Church architecture, Paris, iPhone 4s
Tip 3: Hold Your iPhone with 2 Hands: Seems simple right. Holding your iPhone steady with two hands when shooting will yield a sharper capture. I instinctively freeze my movement briefly, hold the iPhone with two hands and breath out slowly concentrating on my subject and snap, snap snap. You can also use either the + or – volume buttons on the side of the iPhone to snap your images. The image below of my buddy Trevor was made in a single exposure. But, I often shoot multiple exposures of a single subject just to be sure that I nailed the exposure. I recently downloaded ProCamera which has a screen trigger and Anti-Shake option built into it under the Pro settings, plus a live historgram, shutter speed, ISO indicator and more in its rich feature set. I highly recommend it. 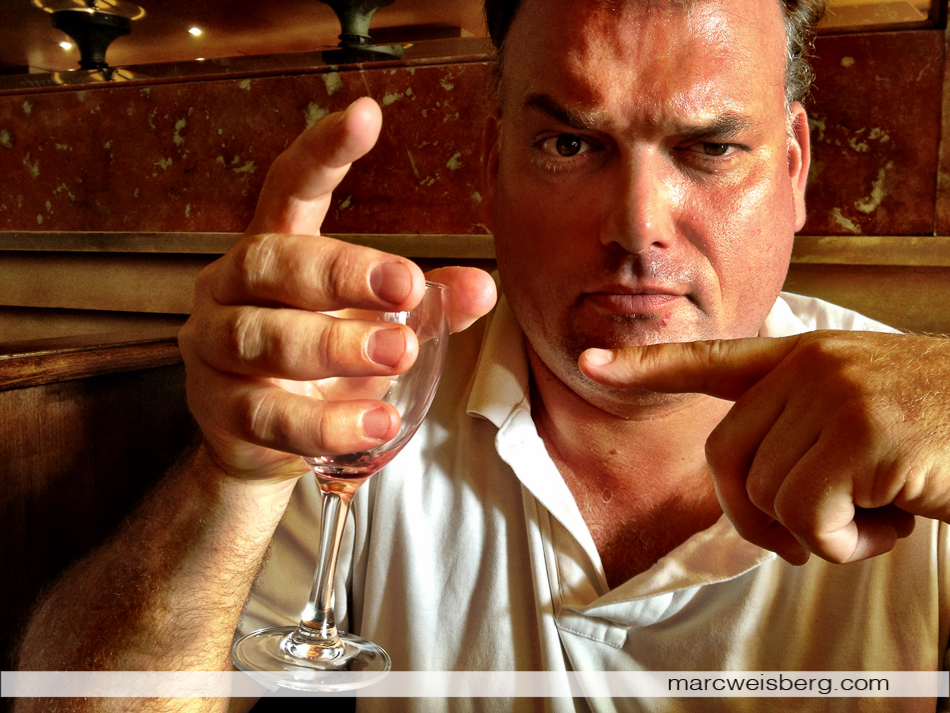
“Is my wine glass is to small or are my hands to big?” Edited on board the iPhone 4s in the Camera+ App.
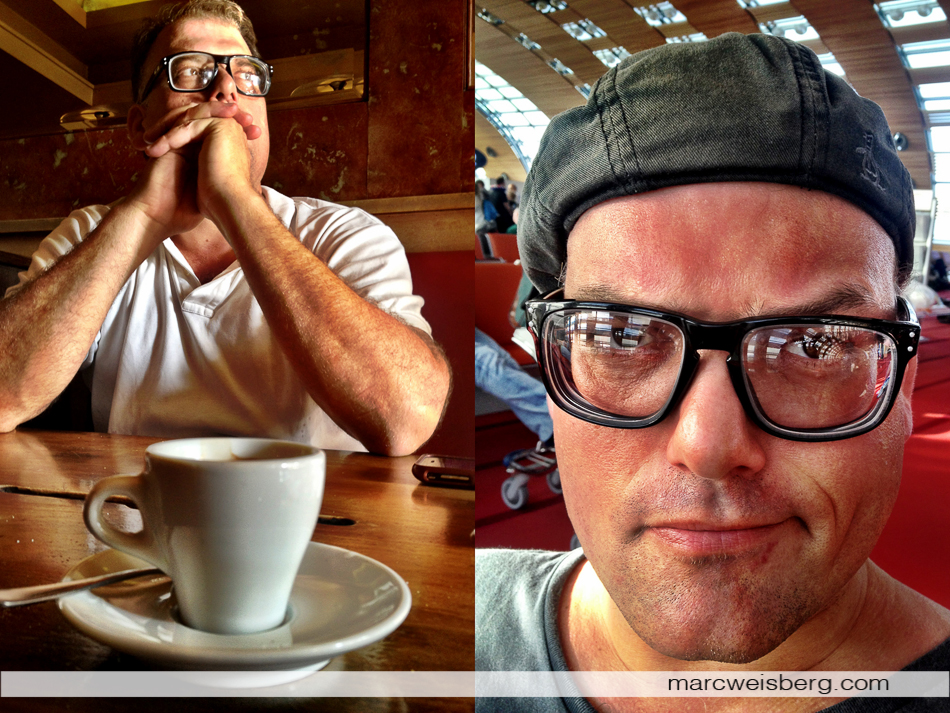
2 Portraits of Trevor, Cafe Bucheron (l) and Charles de Gaulle (r) after learning that we might get bumped from our flight to NYC.
Tip 3: Use Apps to Edit: Every image here has been edited somehow on the iPhone. My favorite quick fix is Camera+ which I first learned about from Scott Kelby. Camera+ is available for both the iPhone and iPad. At the end of this article is a listing of Apps that I use on a regular basis. My go to filter is the “Clarity” filter under the Edit menu. As they say on their site its ….”One tap to awesomeness!” <Truth!> I use it on almost all my iPhoneography. There are also allot of great toning options under the Edit -> FX Effects menu. Like DSLR capture or even film its the final image or print that counts. The capture is where the image starts. With editing you can elevate your image from great to phenomenal. The key IMHO is keeping a soft approach and not overdoing it.
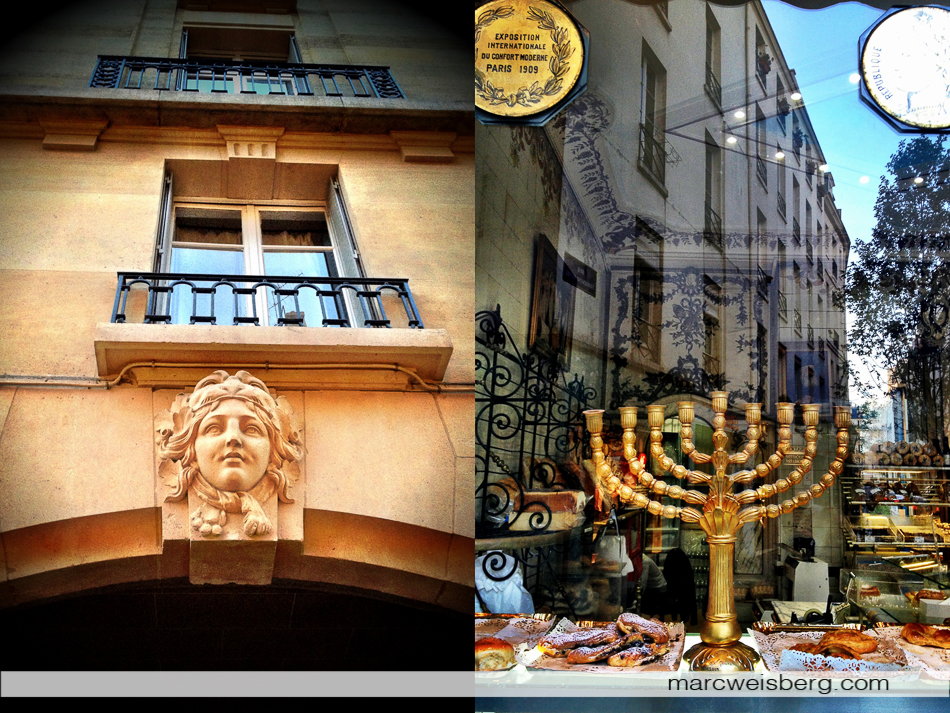
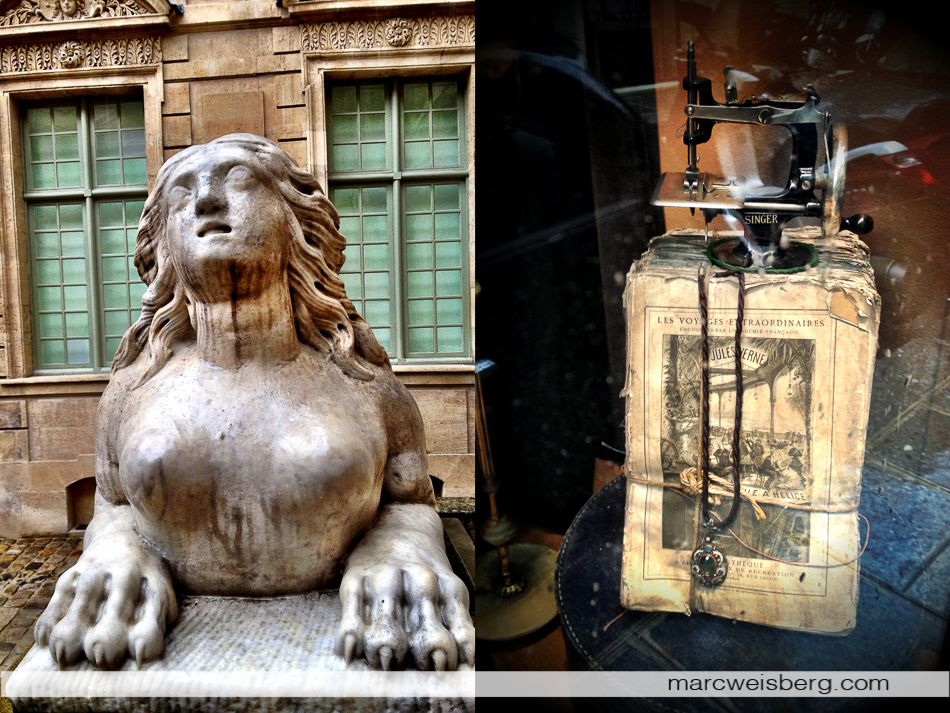
A sucker for reflections, I photographed the window on the right over a dozen times during my two and a half weeks in Paris.
Tip 4: Download a few camera Apps and learn them inside out. I have about 20 or more camera apps on my iPhone. I only use about 4 or 5 of them regularly. Take the time to look at what editing or camera apps you want to try and purchase them or get some for FREE. Every once and a while developers or a company will promote their apps and give them away. Master the apps that you like best which give you the look and feel you want your images to have. If you are just starting out, I recommend Camera+, Adobe Photoshop Express (free) which I like for its control over exposure, sharpening and vignetting and Pro HDR (all listed below).
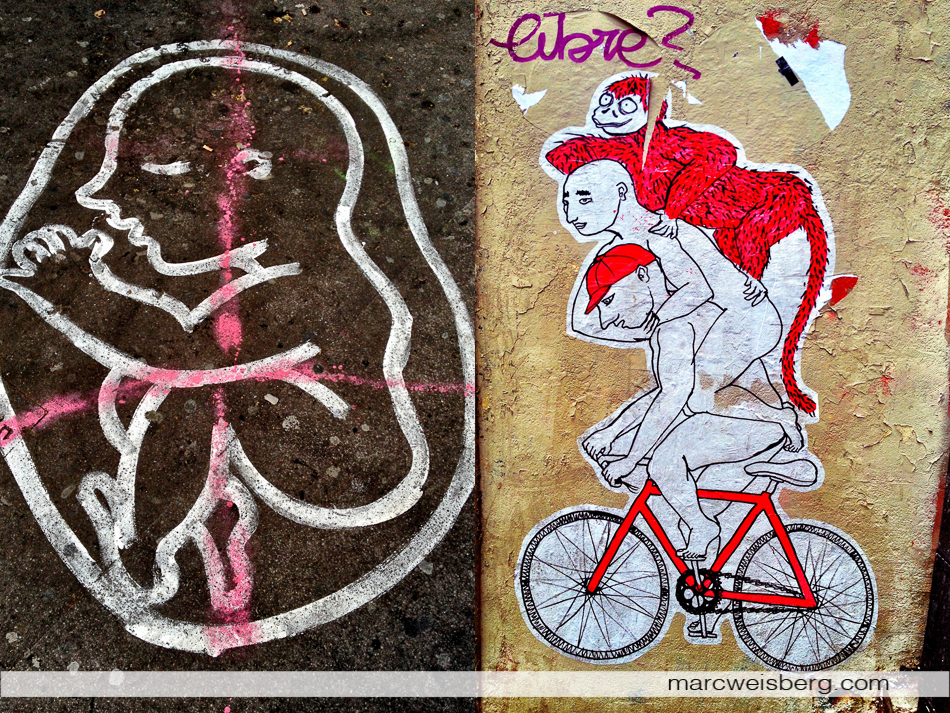
Sidewalk and Wall Graffiti, Marais, Paris
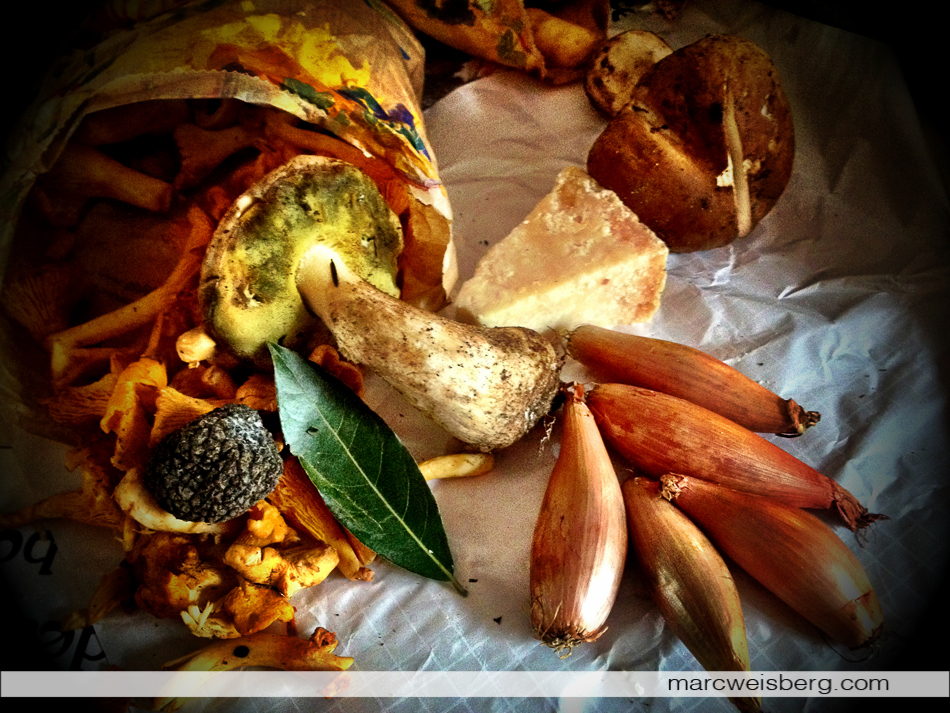
Food porn, marche Bastille, Paris. Captured on the iPhone 4s and edited in Camera+
Tip 5: Commit to an iPhoneography project. Create a body of work. One of my favorites is food iPhoneography. What moves you? Is it photographing dogs, cats, your kids, portraits of strangers, random junk, whatever, just embark on a journey. You’ll find that once you commit to a personal project, photographic opportunities will just come to you. Turn your phone to silent when taking the photos. If your doing a portrait project, you may need to ask people their permission to photograph them. Not always the easiest, but thats for another article.
I have a friend that embarked on an iPhoneography project of photographing anything that was round. A tire, a doughnut, a fire hydrant from an above perspective, clocks and so forth, he ended up with an amazing body of work and had a gallery show. Whatever your personal iPhoneography project is you’ll be amazed at the results and your ability to build a body of work. Embarking on a personal iPhoneography project will force you to see things in a new way, look for light, compose thoughtfully and find new ways of seeing. After some time, you’ll have mastery of the subject matter you chose. I highly endorse MASSIVE CREATIVE EXPERIMENTATION. Ultimately there are no rules, just play!
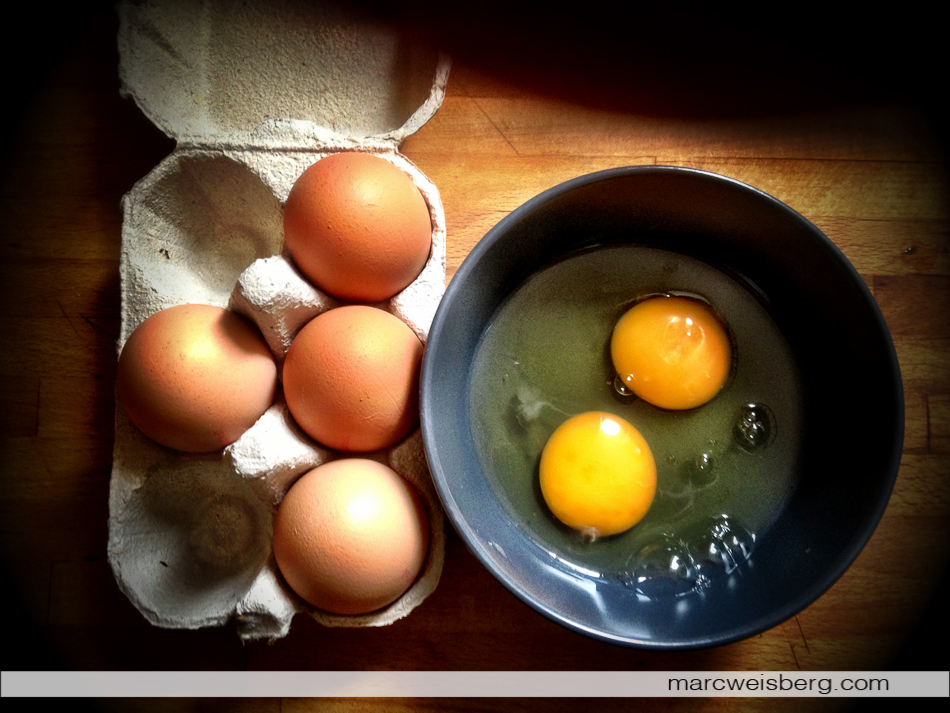
Organic eggs for breakfast, window light, Paris, iPhone 4s
Editing and Backing Up Your iPhonography: Currently my editing suite is on my iPhone, but I’m thinking about moving it over to my iPad. Duno yet which direction I’ll move. I like using a Wacom tablet when editing and have to do some research to see if I can synch my current Wascom tablets to my iPad. Guess I could use a stylus too. But there is one thing that I do every few weeks. Backup my iPhone and download my images. I download all my photographs from my iPhone to my laptop during synch and then backup another copy to a hard drive. If you don’t backup your data and your iPhone photographs, its just a matter of time until you loose them. My final archiving step is uploading my final hi resolution toned images to my Flickr Pro account.
Landscape iPhoneography, backside of the Tuileries, Louvre, Paris. Post processing, just Clarity in Camera+ App.
Geo Tagging Your iPhone Images: Little known iPhone attribute. One of the coolest things about the iPhone is that all your photos are automatically geo tagged with pin point accuracy. To see geo tagging at work open your Camera Roll -> then touch Places (down bottom). A world map will be revealed with red pins denoting where you have photographed your images with an image tag. You can pinch to enlarge and a Google like map will expand down to the exact spot on the street where you snapped your iPhone photo. To see your geo tagged photo, simply tap on the red pin then on the blue arrow to its right. If geo tagging is not working for you, you may have Location Services turned off. To turn on Location Services: Go to the Settings menu on your homescreen -> General -> Location Services and toggle to the On option for Camera.
5 Apps for Editing Your iPhoneography
1. Adobe Photoshop Express
2. Camera+
My go to App for photo editing
3. ProCamera
ProCamera features in a richly well thought out enhanced iPhone interface with Anti-Shake, plus a live historgram, shutter speed, ISO indicator and more in its rich feature set.
4. Pro HDR
Shooting a scene that is both brightly lit and harsh shadowed. This app will create a high dynamic range of two photographs, one exposed for highlights, another exposed for shadows and blend them together creating and HDR images. You can then apply brightness, contrast, saturation and filters to the image including infrared to create great infrared b&w’s.
5. Snapseed
I got this for free when the good people at Nick were promoting it. Not sure if its still available for free? A bit hard to use on the iPhone due to the diminutive size of the icons and font size, but has some cool editing features.
Creating Montages with Your iPhoneography: In Part 2 I’ll cover storytelling with you iPhone photography images. What Apps I use and what software programs you can use on your computer to create compelling layouts with your iPhoneography. Also, I’ll cover how I post my iPhoneography images to Social Media.

Food porn, iPhone 4s, montage.