10 strengths to look for when hiring a 2nd Photographer
So You’ve Got Your Gear – And You want to Get Your first Wedding Under Your Belt. Now What?
Before you run, you’ve gotta learn to walk. Learning to second shoot for a competent and skilled wedding photographer would be your first step to going pro. One of the issues the wedding industry is faced with these days, are people with DSLR’s who think they are a professional because they have a web site, and some gear. I’m here to tell you, that just because someone has a fancy camera, has photographed a few weddings for friends doesn’t make them a pro. As a second shooter working with a skilled, experienced wedding photographer that understands people, exposure, composition and lighting, over a year or two you will learn things about wedding photography you’ll never learn in school. You’ll be put in different circumstances with different lighting conditions, some ideal, some just awful. But you’ll learn to make the best out of any situation. Inexperienced photographers, when faced with less than ideal circumstances will fail miserably. An experienced photographer will always win. Tiger’s blood!
A few weeks ago, I shot 2nd for a buddy of mine in San Diego: Kevin Connors, Master Photographer and Photographic Craftsman, PPA. We often trade on and off and shoot for each other. Instinctively, both of us know that we’ll nail the shots that we need for each other and in turn for our clients. Our styles are different and compliment each other. With no second thoughts, we’ll let each other know what we need covered when working together at our respective weddings.
All the images in this post are RAW captures, post processed in Adobe Lightroom 3. No retouching was applied to any of the images using Photoshop or any other image editing program. I believe that its important to not rely on actions or Photoshop to “make” your images. Just start with a clean capture.
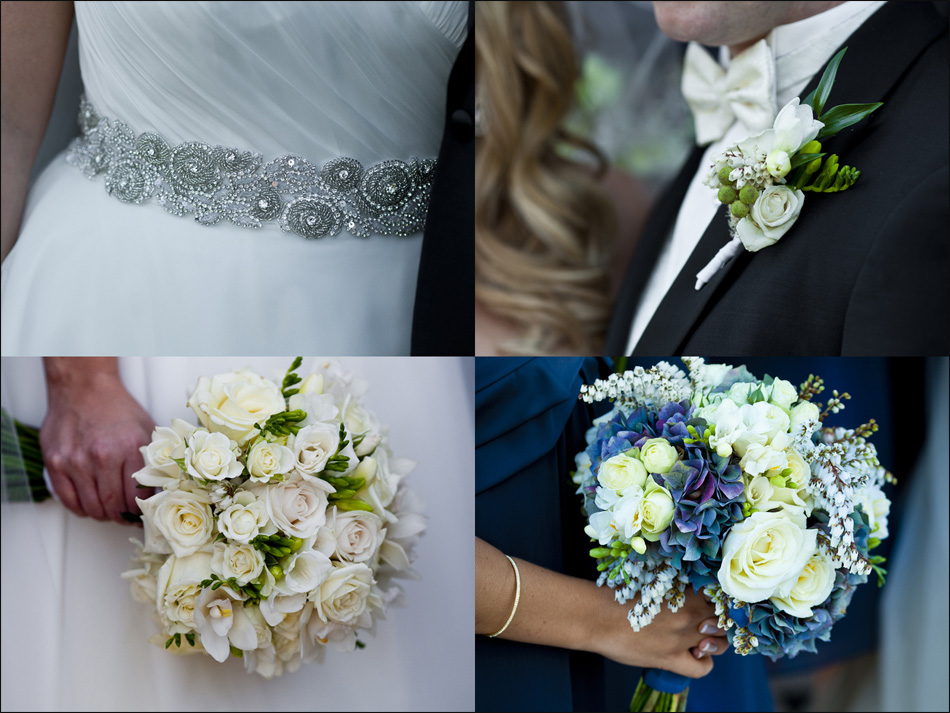
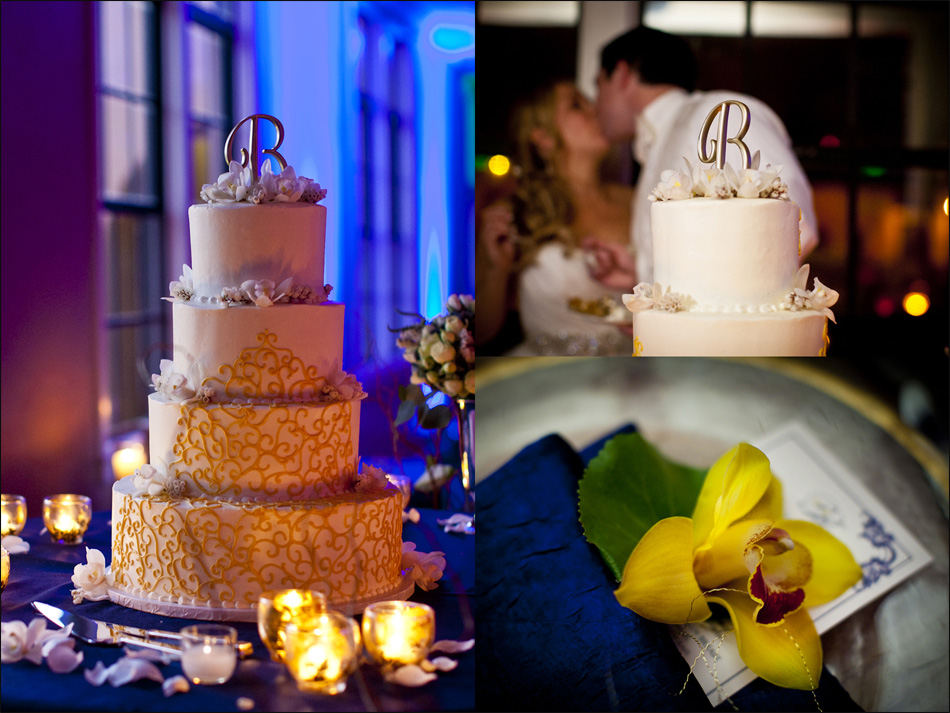
{Above: I count on my second shooter to capture little details like these, when I’m busy setting up family portraits or focusing on the bigger picture. Little details that have taken a year or more to plan, should not be overlooked.}
When I first started out about 12 years ago, I shadowed a wedding photographer to get my portfolio together. I knew very little about the inner workings of photography. All i knew was that i loved to make images on film. Looking back at my early images, I cringe. They are contrived, stiff and void of life. We all start somewhere 🙂
3. Understand Light and Nail the Exposure
For years I was a Jpeg shooter. Now, everything i shoot is RAW. Being a Jpeg shooter, early on, I learned to nail my exposures. Not much latitude when shooting Jpegs. I feel that a RAW file’s color fidelity and clarity is superior to a Jpeg file.
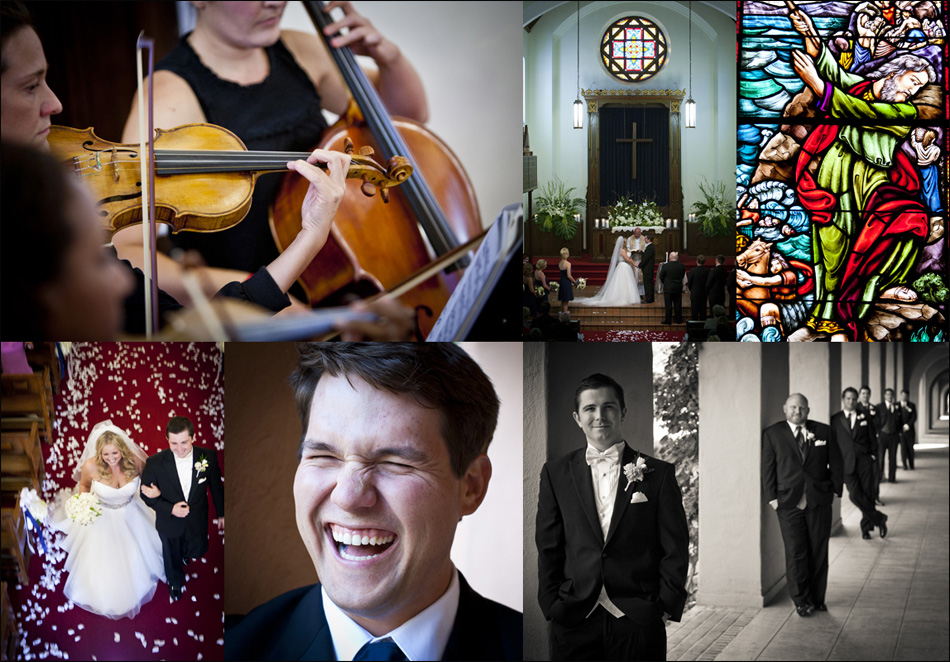
To understand light, you need to shoot allot. Weddings are unpredictable. You are often thrown into situations with horrible light and you need to make the best of it and make your clients look like rockstars! Grab a friend, your wife, your husband or a kid, put them in crappy light and make great photographs. Do it thousand of times and nail the exposure. You’ll be glad you did.
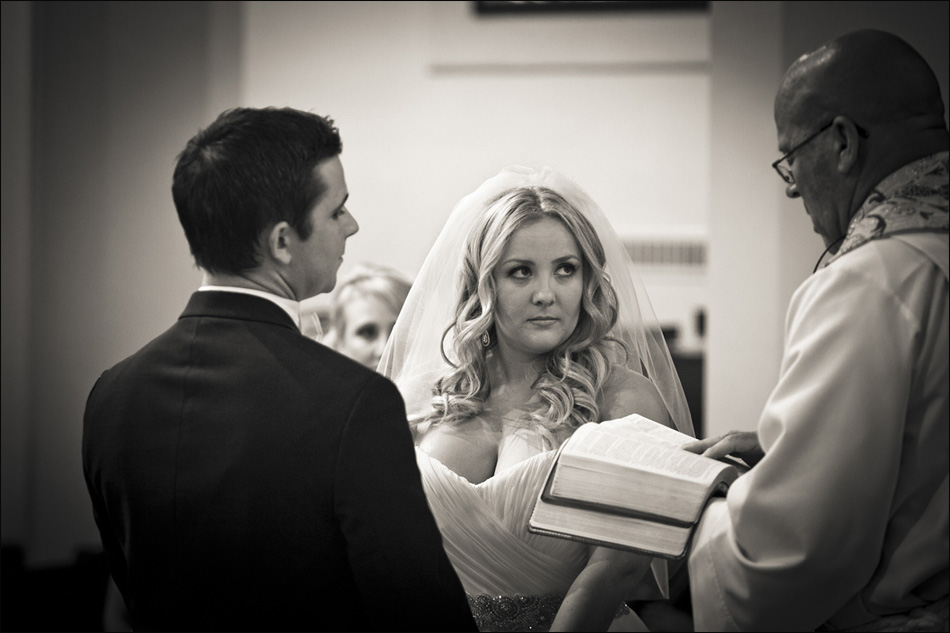
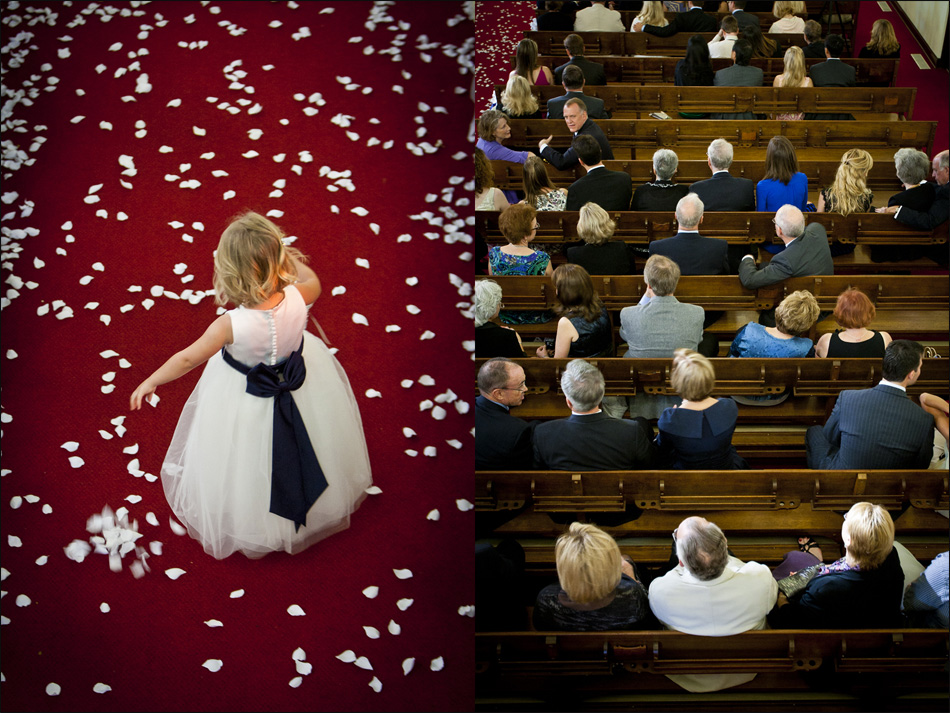 {Above: For a different perspective I positioned myself in the balcony and used a 70mm–200mm f2.8 IS lens, shooting wide open at ISO 2500 at 1/40 sec.}
4. Have Back Up Gear
Professional photographers have back up gear. Period.
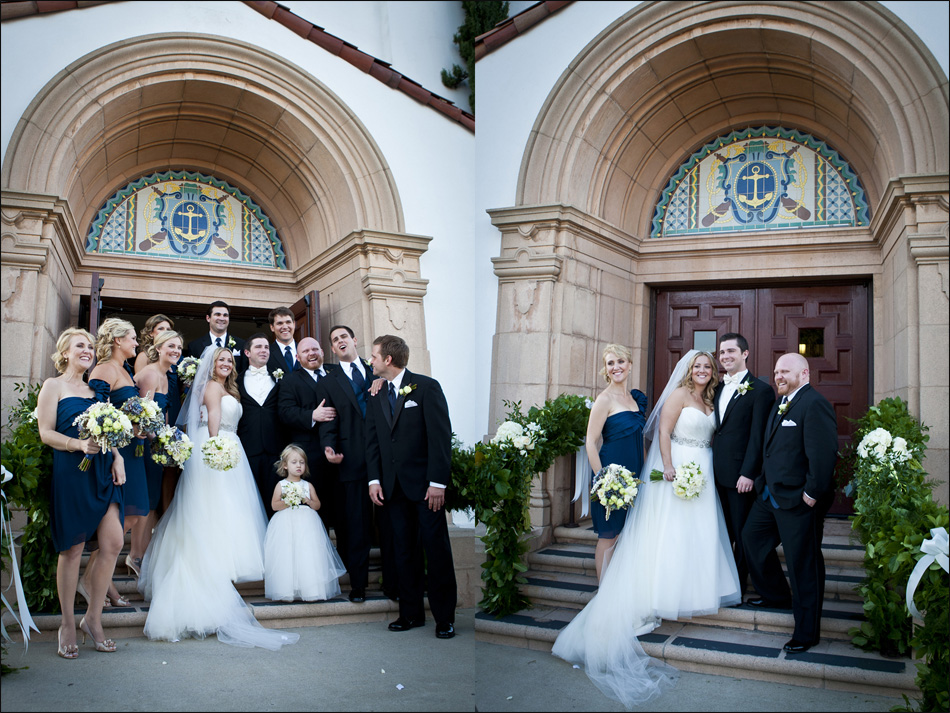
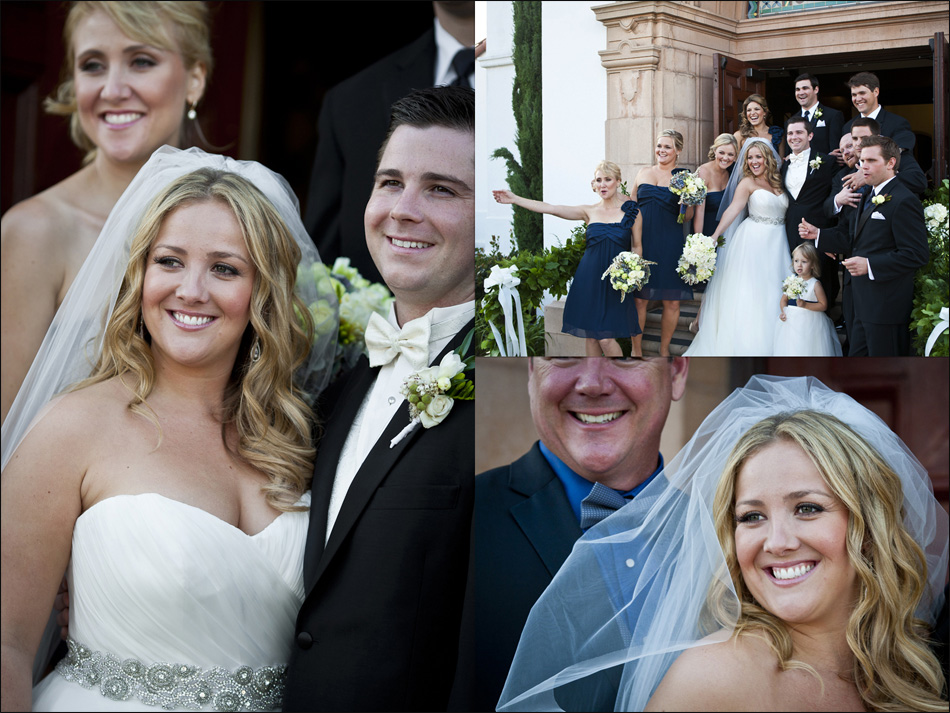
{Above: I chose a flattering angle to compliment Kevin’s more formal image. He is dead center, camera on a tripod and using a softbox. I am hand holding my camera so that I’m highly mobile. Tech specs: 24mm, ISO 400, 80th/sec @f 5.6.}
5. Be Pro-Active
Always be thinking ahead. If you are just starting out, I suggest riding along with a wedding photographer who’s work your really, really like. First time out….don’t shoot, just observe. See how they interact with their clients. How do they move. What is their body language like? When appropriate, ask them to explain why they are doing what they are doing. Take written or mental notes about their interaction with their clients. What do they do to direct posing? Notice how they use their gear. An experienced / pro photographer, most likely doesn’t even need to think about their gear. They just react to what they see. There is a regiment to some expected photographs / portraits at a wedding event. What are they? When do they take place. Ask the prime photographer for some of their business cards so that you can pass them out when a guest asks who the photographer is. If this were your wedding, were would you do family portraits and why? For family portraits, I always look for a clean unobstructed background first and then look and see how the light is. How would you group and pose people during portrait sessions and why? What are the little things that you could be doing to help out the primary photographer to make any situation easier? These are all pieces of the wedding photography puzzle that a seasoned or experience 2nd shooter will learn and know instinctively to be a pro-active asset to the prime photographer.
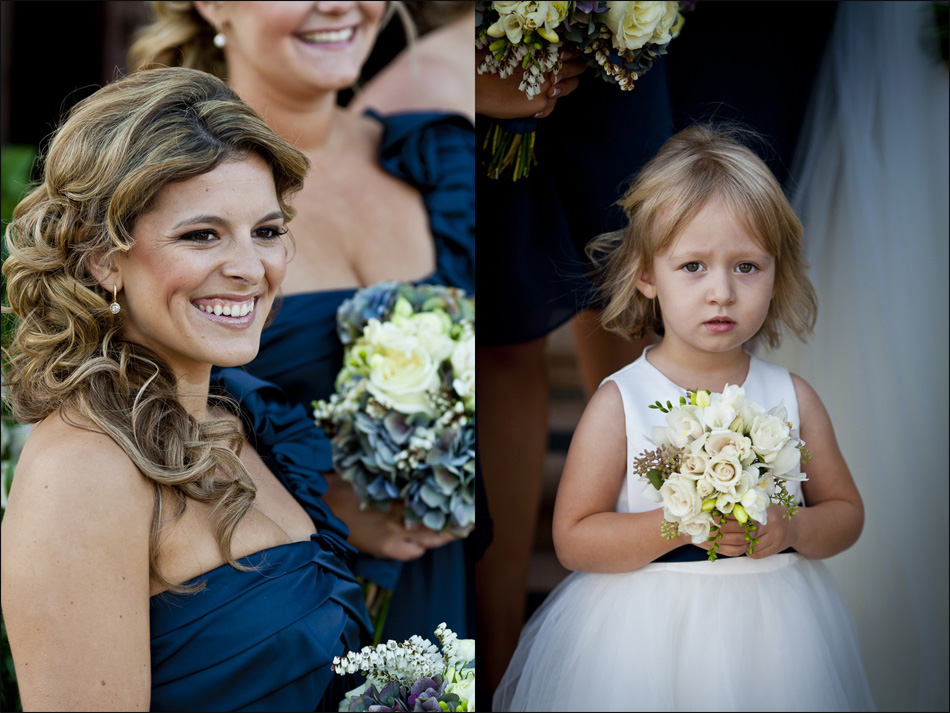
{Above: Here I’m using a 70mm–200mm f2.8 IS lens, shooting very quickly to capture emotion.}
6. Shooting Opposite and Picking Angles
Kevin and I make ourselves aware of what lens we are using and we’ll pick an opposite focal length to work with. For instance if he is shooting wide, I’ll shot telephoto and vice versa. If he is dead center, I’ll shot on an angle. But I’ll make sure that that angle is flattering to the bride or grouping. Learn to anticipate smiles and laughs. Part of anticipating is using your listening skills, the other part is visual. A head will till back before a big laugh, there may be some banter back an forth before everyone breaks out in laughter. Look for subtle cluses about how close the family is…..are they standing lose together….are there lots of hugs. This way, you can anticipate emotion. As a second shooter I can take more chances and shoot with a shallower depth of field to isolate subjects. My favorite lenses for shooting opposite is Canon’s bokeh beauty – 85mm f 1.2 {if you can’t afford this lens a great alternative is its less expensive sister the 85mm f1.8, less than $400, tack sharp, nice bokeh…..a great lens for the price. I have both.} and the tack sharp and painterly 135mm f 1.2 lens.
7. Have a great Attitude
No matter what happens on the wedding day, always have a great attitude. At almost every event there is a glitch or two or maybe a pesky person. Don’t give it a second thought. Part of being a pro is acting the part. You’ll be very close in proximity to the bride, groom and their families always be warm and positive.
8. Don’t get Distracted – Be Aware
I’ve seen new photographers and assistants get caught up in the moment and totally zone out during the vows, first dance or an emotive portion of the wedding day. I’ve also seen photographers be so deep into what they are doing they don’t even notice that they are in the prime photographers frame. Be aware of your position and if you are directly opposite or in the line of sight of the prime photographer…..move.
9. Don’t shoot Everything Wide Open
When i first started, i shot almost everything wide open. Probably wasn’t the best idea. There is right time for everything. Be aware what your 50mm 1.2 is capable of. You can’t expect to shoot a group of 4 people at 10 feet away and have everyone in sharp focus at f2.0. Just isn’t possible. Stop down to at least f4.0. Yes, if you are 20 or so feet away, you can reasonably expect to have all four in focus at f2.8, but not at 10 feet. You’ll learn this from testing and repetition. Same goes with an 85mm 1.2. Shoot it wide open and you’ll get magnificent results. But try photographing 2 people at close range, wide open, and only one person will be in focus. My general rule is f4.0 for candid groups and f8 for formals, at about 10 feet with any lens in the 24mm to 70mm range. If the bride or groom asks you to photograph a grouping, she/he wants to be able to clearly see each person in that photograph and that won’t be possible if you are shooting wide open.
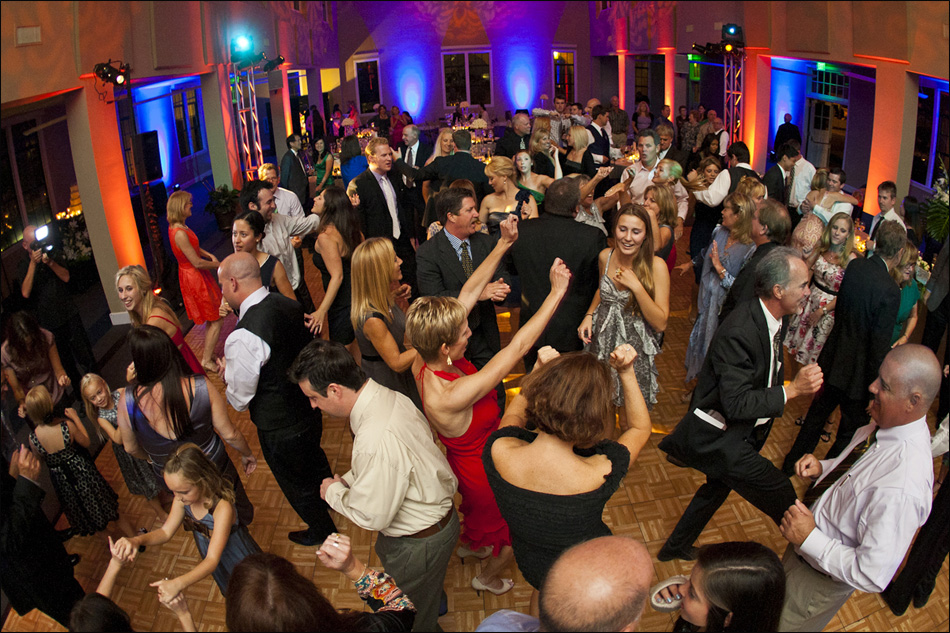
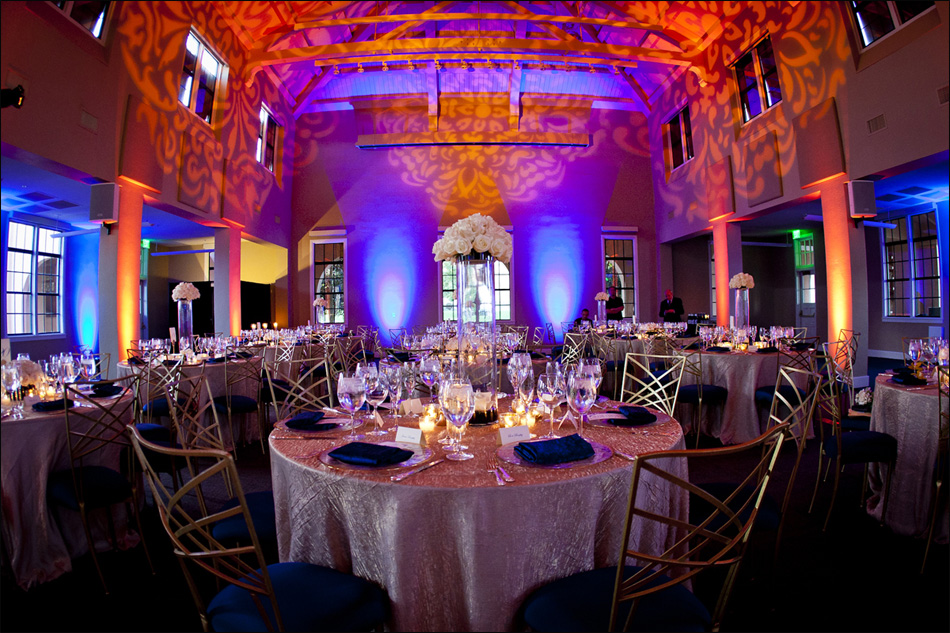 {Above: I always bring a tripod to every wedding with me. Sometimes, I never use it. Never understood the mantra of some photographers: “I never use a tripod.” Why? For the shot above my tripod definitely came in handy. Camera on tripod, 15mm fisheye lens ISO 1600 @f3.2, 1/25th sec. All Ambient light.}
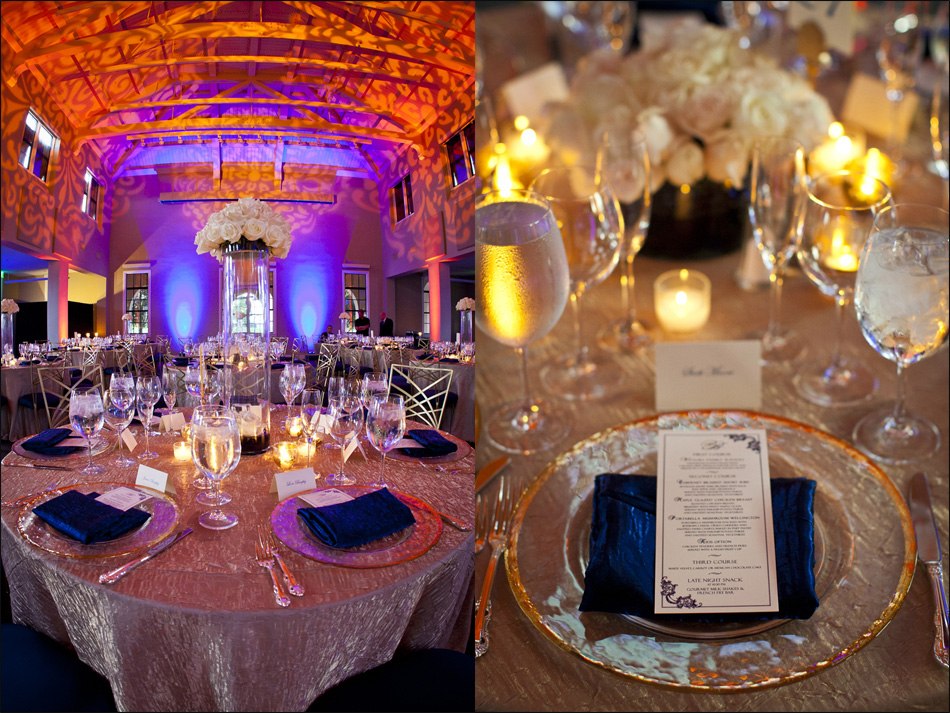 {Above: Table shot (left) with camera on tripod, only at 1/8th/sec. Try that handheld and get it tack sharp!}
10. What Did Your Learn from Your Last Shoot?
Every time I go out and shoot I learn something new. The process is simple. I do a mental review of how i can improve my vision and photographic prowess. After I download my images I’ll review them and see what worked best. If it was a technical lighting image, or a particular angle, or quality of natural light, can I replicate it, how can I improve it? I’ll make a mental note to look for that quality of light again. I’ll also look at what didn’t work and figure out why it didn’t work and make a mental note about how to solve it next time. History is our best teacher. Learn from your mistakes and from your victories.
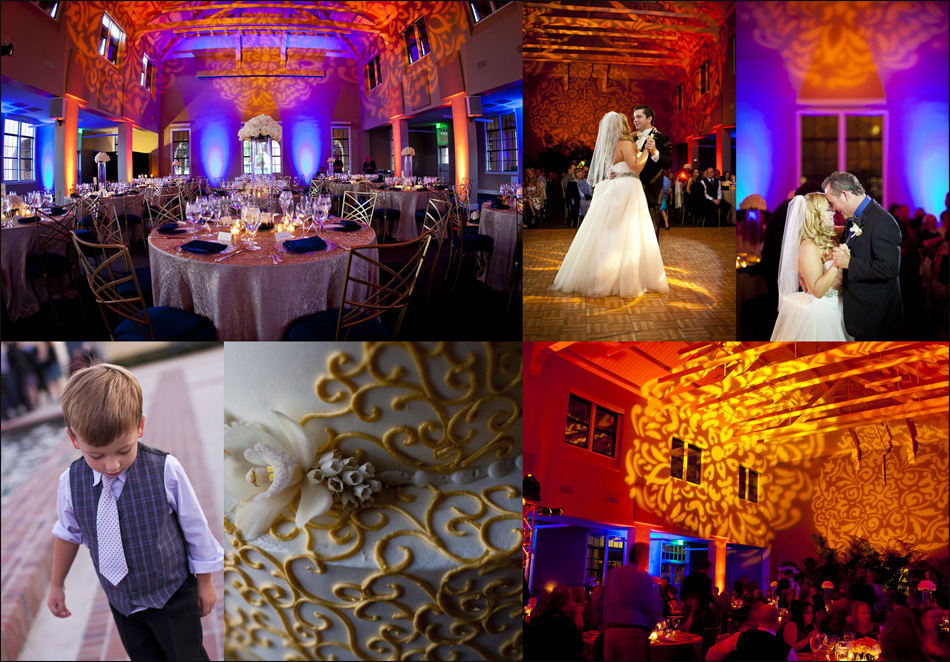
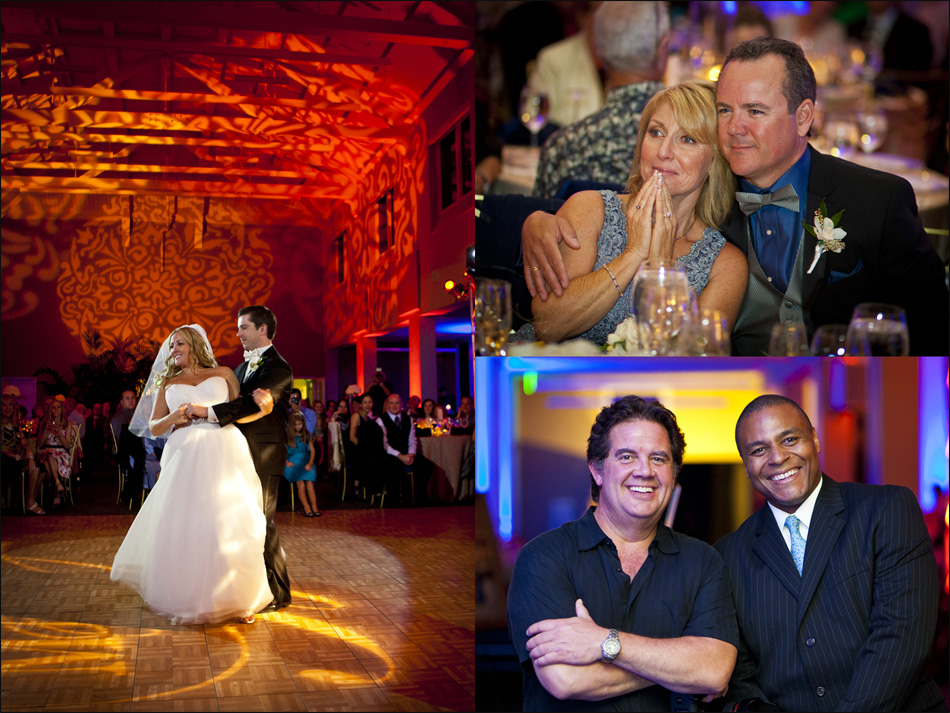
{Lower left: Bride and groom’s first dance: 16mm-35mm @30mm f2.8, ISO 1600, 40th/sec. I’m always looking for expression and emotion from mom and dad during the first dance and during speeches. Right after I captured a few frames of the first dance. I spun around, changed lenses and captured a few frames of the bride’s mother and father. Above – top right: Bride’s mom and dad look on at the couple first dance. Captured with an 85mm 1.8 @f1.8, 40th/sec, ISO 1600. Lower right corner – arms crossed: Kevin and his Emcee buddy.}

