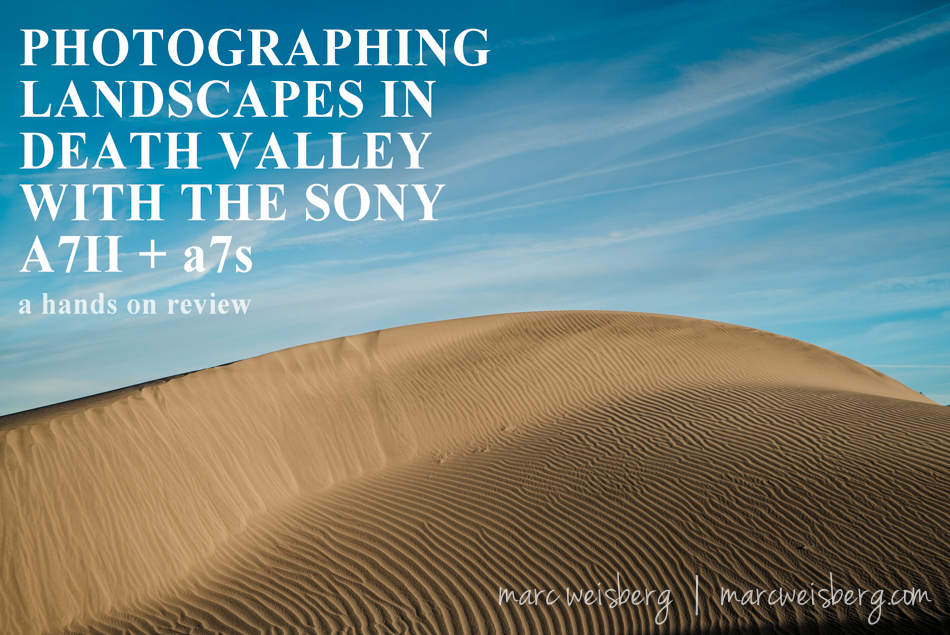
Photographing Landscapes in Death Valley with the Sony a7II and a7s
A Hands on Review of both the Sony a7II and a7s | Part 01
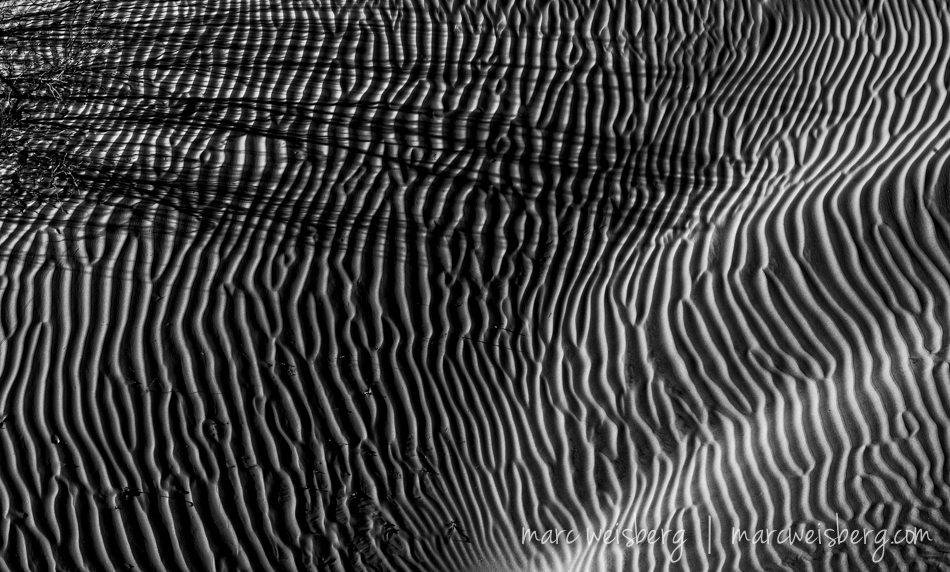
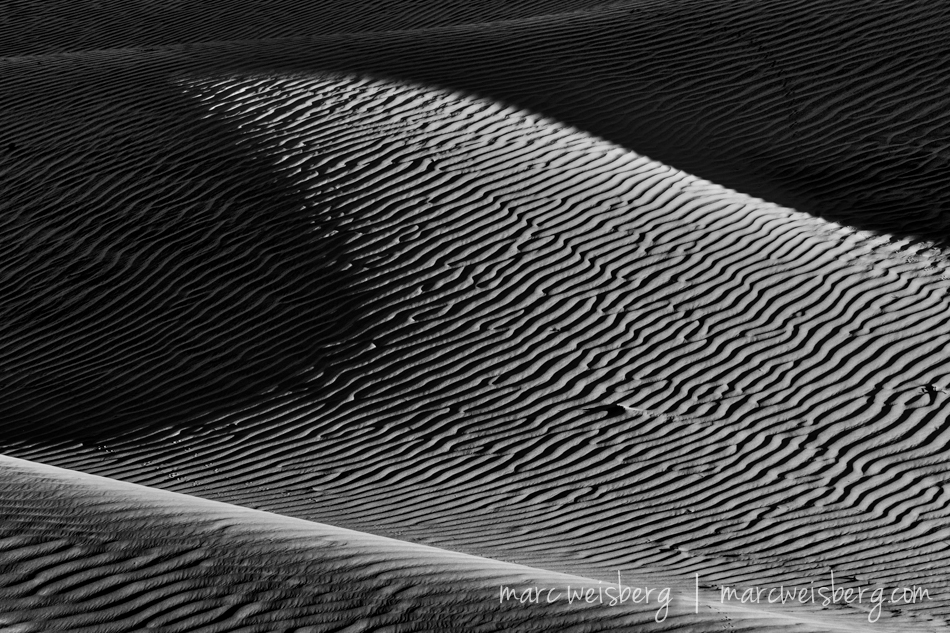
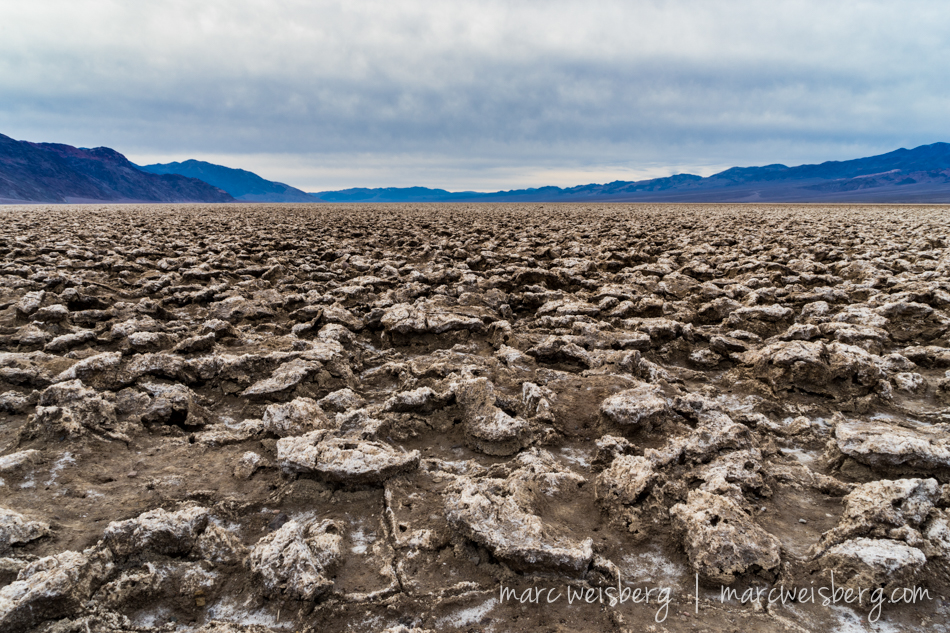
Last week I headed out to Death Valley with some photographer buddies, Joey Carman from Los Angeles, Ken Sklute from Arizona, and Kevin Connors from San Diego. All long time friends. It was my first time in Death Valley. Ken and Kevin had been there many times and they knew the lay of the land well. Road Trip Bonus! We woke up before first light each morning, about 4:45AM and hit the road by 5:30AM. Typically we hike a mile into the “Mesquite Sand Dunes,” off the main road. It was pretty cold but warmed up considerably after the sun came up.
Death Valley was a great time to hang with great friends, many many laughs and a stunning visual experience. It was also a fantastic time to press my Sony a7II and a7s into service and use all my lenses: 16-35 f4 Zeiss OSS, 24-70 f4 Zeiss OSS, 70-200 f4 G OSS and the amazing 55 1.8 Zeiss. Due to the dusty environment I decided to fix the 70-200 f4 G OSS on my a7II body and the 24-70 f4 Zeiss OSS on my a7s while occasionally switching it out for the 16-35 f4 Zeiss OSS. I noticed after the first day the the sensor would get allot of dust on it from switching lenses in the dunes. Go figure.
Production and Post Production Notes: Its not my intention to show RAW, SOCC images. Rather I use my Sony Mirroless system as a tool. This post is to show what’s possible using this system. That being said here is my method for post. I’m a RAW shooter. Images are culled in Camera Bits – Photomechanic, Adobe Lightroom 5.7.1 is for the majority of post pressing into use: color and density corrections, sharpening, gradients, curves, camera profiles and so forth. If images are edited further than Adobe Lightroom, I use three tools. I am unapologetic for editing or enhancing my images.
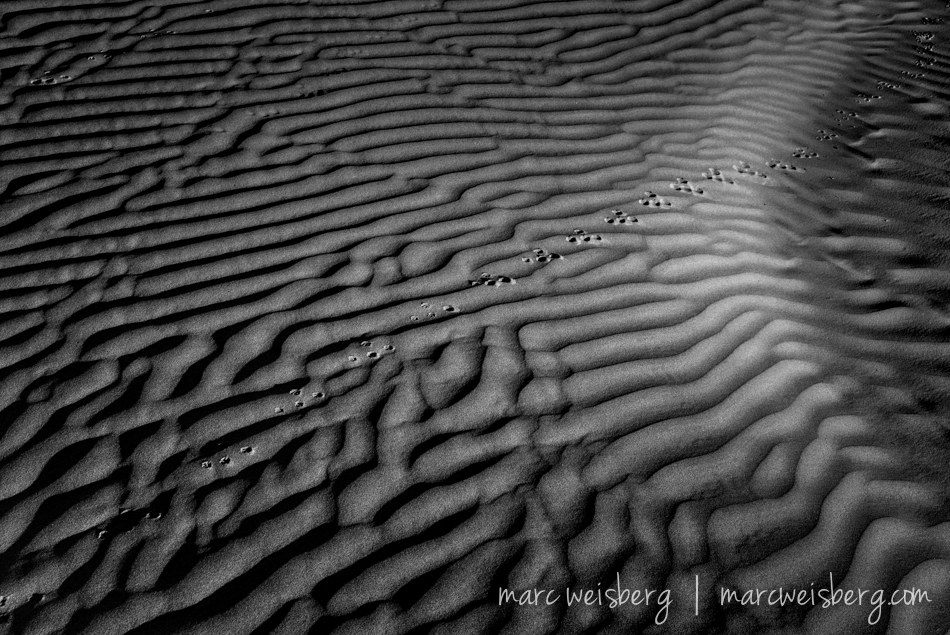
For black and white images I’m using MacPhun Tonality, Nik Filters and Adobe Photoshop CS5, all are stand alone desktop modules.
Technical Performance Notes: I’ll discuss the specific performance of each camera and each lens that was used to create the images below.
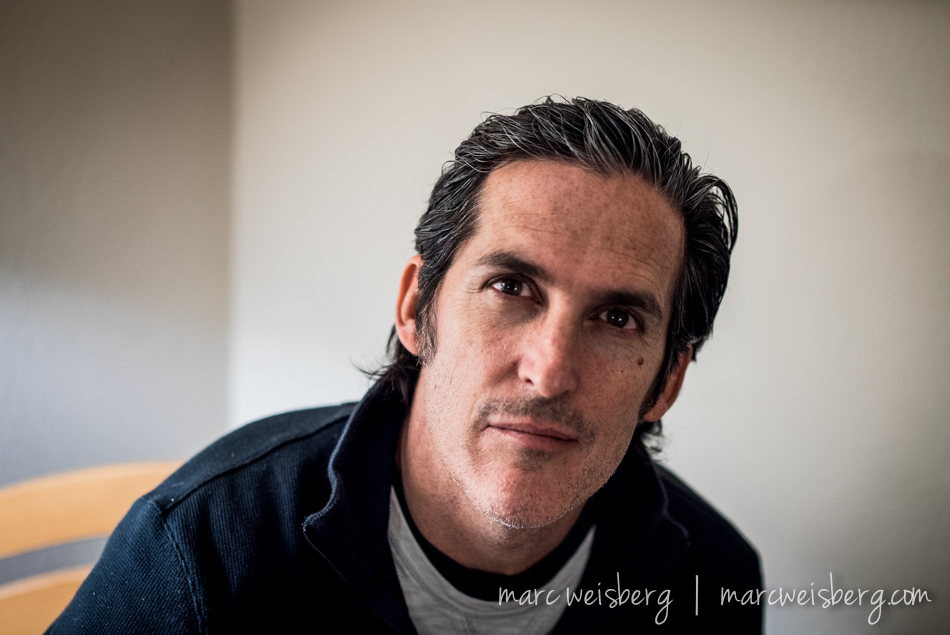
The Players: Each of the images below were photographed in crappy tungsten hotel-room light. ISO set to Auto with a min of 100 and a max of 25,600. White Balance on Auto. Color correction in Adobe LR.


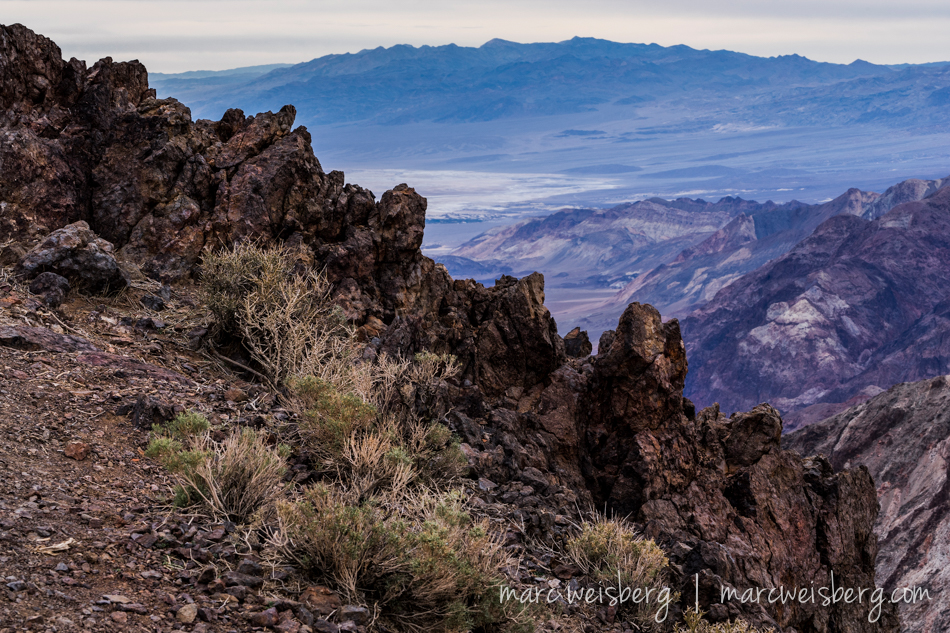
In early morning dim light {before the sun rises and in some flatly lit scenarios later afternoon, something that is apparent right away are some focus issues with the a7II while creating landscape photographs. When the lighting is flat and no to little contrast exists, I had a hard time, even when changing focus point sizes from small, to medium to large {a very cool feature on the Sony mirrorless sytsem}, and to Wide Area Focus the camera still had trouble focusing. Even with using the large focus point and fixing it on a mountain range in the distance or fixing it on the delineation between two slightly contrasting borders of mountain range and sky the a7II still had issues focusing. I could not get it to lock on right away, on my first focus try. I was able to get a lock after multiple tries. I noticed this behavior while creating landscapes and the a7II was mounted on a tripod. I did not try locking on focus and making portraits in similar lighting scenarios so I can not share data yet regarding portraiture. That being said, I did find the a7II to yield magnificent results paired with the 70-200mm f4 G OSS. ISO for landscapes was always kept in the 100-200 range and the majority shot in manual mode, few in aperture value.
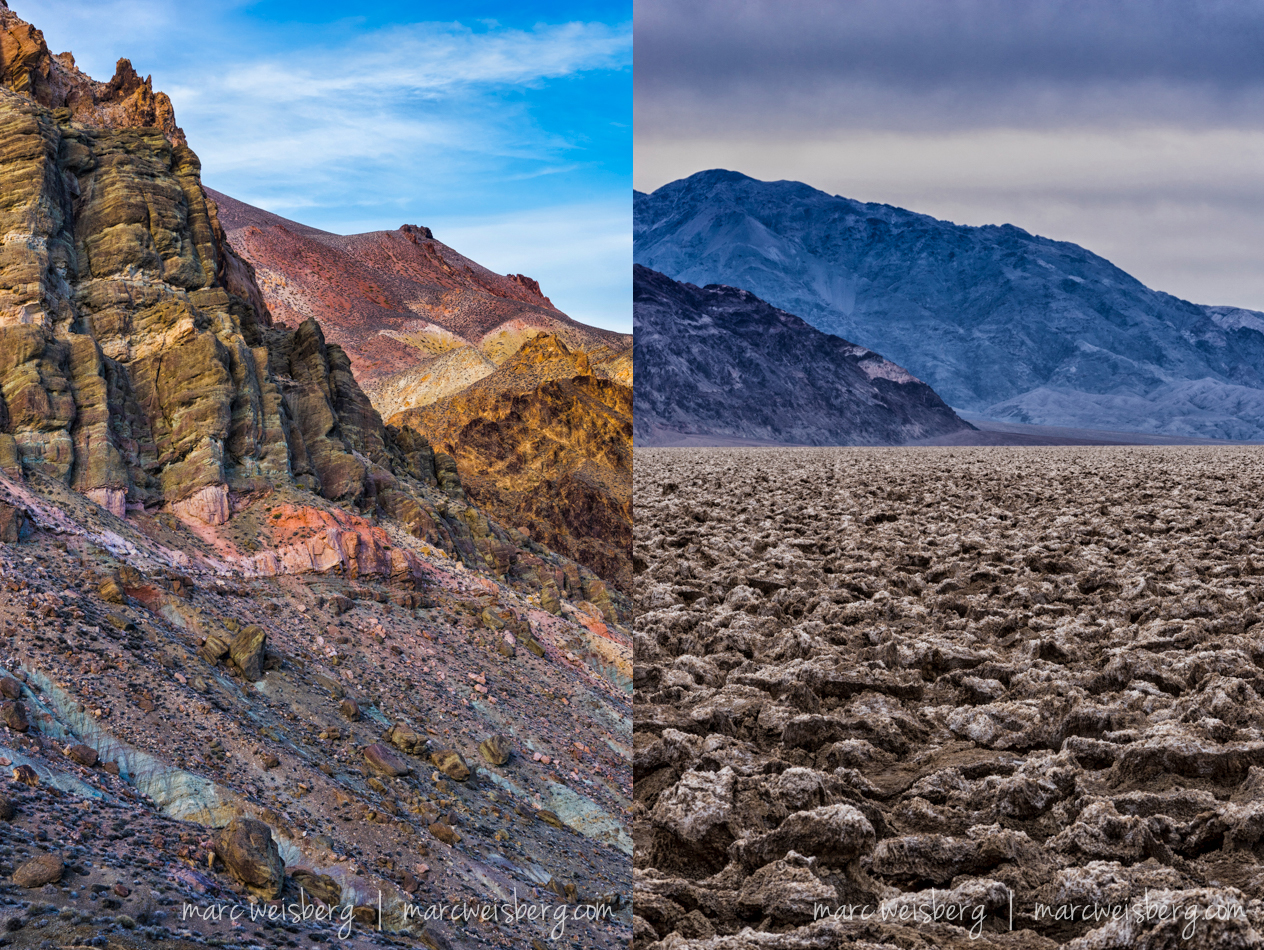
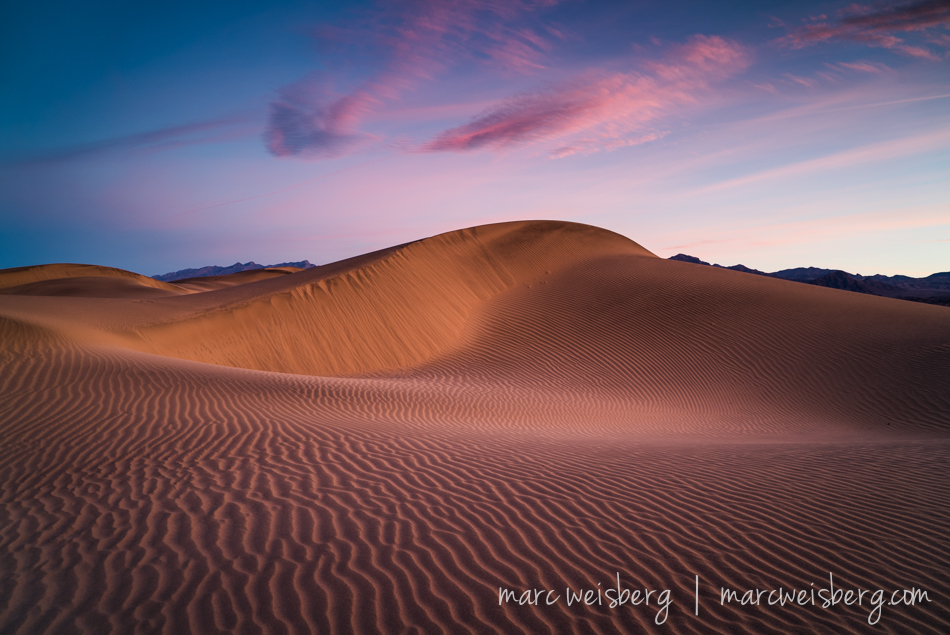
The Sony a7s has the Sony VG-C1EM battery grip attached to it. The grip does make the camera larger and IMO more balanced. Plus the a cartridge that slips inside the grip-shell allows two batteries to be placed inside the grip. Over all I found the a7s with the VG-C1EM attached felt a bit more beefy and better balanced. The form factors of both the a7II and a7s are diminutive when moving from a DSLR system. Its a welcomed form factor and one I was used to from using my Olympus system previously and super comfortable with by the end of the four days of shooting. I also found my self being able to easily move through the menu system, which felt new to me only a few days before. That’s what shooting a few thousand frames between both bodies will do for you. I was mostly accessing ISO, frame rate, and focusing point sizes. Most of the time I had the 24-70mm f4 ZA OSS attached to the a7s, occasionally slipping on the 16-35mm f4 ZA OSS. Both lenses performed flawlessly. As I’ve mentioned in other blog posts the 16-35mm f4 ZA OSS does have some distortion issues and a little vignetting but is easily fixed in Adobe Lightroom by enabling the lens profile which I’ve made a Develop Preset for. Edge to edge sharpness is excellent and after reviewing my images, I don’t see any need to employ focus stacking to achieve sharpness across the entire image plane. You can see that images are photographed from f8 through f22 with excellent acuity.