Shooting in Paris & NYC with the Olympus OM-D E-M5
On the Road for 3 weeks with the mirrorless Olympus OM-D E-M5
Just got back last week from 2.5 weeks in Paris and 4 days in NYC photographing exclusively with the Olympus OM-D E-M5. Left behind all my pro Canon gear at the studio and took along my new silver Olympus OM-D E-M5, a few primes and my Fuji X100. Missed Hurricane Sandy by a few days. Funny ’cause I changed my flight back to leave NYC early not even knowing about Sandy. We were supposed to stay in NYC till the 29th. Now that would have been some amazing imagery to capture. I have friends and family on Long Island who have either lost their home or have no electricity fot the last 4 days. I just posted about a photography benefit for families affected by Hurricane Sandy. If you’r a photographer and would like to join the effort, feel free to copy the info on this blog post and tweak it for yourself. If you are a Mom or Dad with children living in the Orange County area and would like to make a difference and get some amazing portraits of your children while helping out others, please click here to check out our Children’s Mini Sessions Benefiting Families Affected by Hurricane Sandy.
Real World Review of the Olympus OM-D E-M5
Let me first say that this isn’t about pixel peeping, test charts or analytical scientific data. If that’s what you are looking for, you can head on over to dpreview or The Luminous Lanscape and DxOMark. All excellent sites with great technical reviews.
Instead of technical data, I wanted to do a real world field test with this new compact silver beast and see how this MFT’s camera and its primes: the Zuiko 12mm f2.0, Panasonic 20mm 1.7 and the Zuiko 45mm 1.8, some spare batteries and a great pair of walking shoes stack up against my Canon 1D Mark III. The Fuji x100 only saw the light of day twice. I love the Fuji the look is retro-nirvana, but its a Tortoise and the Olympus OM-D E-M5 (hereinafter Oly5) is a Gazelle.

For three weeks I put the Oly5 and all three lenses through their paces. Pressing them into glaring sun light, high and low contrast situations, low light situations with 10,000 ISO, windy days, and rainy days in Paris and NYC. All images below are photographed with the Oly5. Images are captured RAW and tweaked in Lightroom 4. Mostly all images are shot using the Auto ISO feature and Aperture Priority.
The Body & Dust Removal
The body has a solid feel to it. It is light weight, especially when compared to my Canon EOS 1D Mark III. But not so light weight that it feels awkward or cheap. I brought primes with me and changed them often. Some times as much as 20-30 times a day. A chief concern when traveling and changing lenes often is the introduction of dust to the imaging sensor. I brought along a few components from my Visible Dust kit, the loupe and brush so I could spot check the sensor each morning before leaving the flat to shoot. The Oly’s dust removal system did a terrific job. Each morning before my Paris and NYC walk-abouts I’d check my sensor with my loupe to see if there was any dust. There were some tiny flecks of dust that where easily removed with a brush, but nothing major. Pretty amazing considering the amount of times I changed primes throughout the day. Overall I captured about 5k-6k of images and only saw about 2-3 images that had very small spots of dust which were quickly removed with the Spot brush in LR4.
The rubber bumper the protects the eye piece can be easily dislodged. At one point I thought I had lost it in transit but luckily it ended up in my the bottom of my bag. I’d recommend taking the rubber eye piece off for a day of street shooting so that when the eye piece rubs against you or your bag it will not get lost.
There were times when I was photographing in light rain for hours, (and as advertised) the Oly5 stayed dry and performed like a champ.
The Lenes
Zuiko 12mm f2.0 A 24mm equivalent on MFT’s. A great wide angle lens, lacking the sharpness and contrast of the 45mm 1.8. The 12mm 2.0 is an expensive lens at $799. The build is a solid all metal construction with a bezzel that snaps back from the front of the lens for manual focusing. It is the only Zuiko lens in the line up that allows for Zone Focusing. However, the distance scale marking on the barel is difficult to read. Distortion is evident in architectural photography (but can be corrected in Adobe Photoshop or in LR4) and for close up portraits. For the lens cost, my opinion is that this lens is not sharp enough. Wide open at 2.0 it lacks the critical sharpness that the 45mm 1.8 has. Stopped down to f4.0 its starts to shine. Since this lens is on the pricey side I wanted to share lots of images so you could see what it’s capable of.

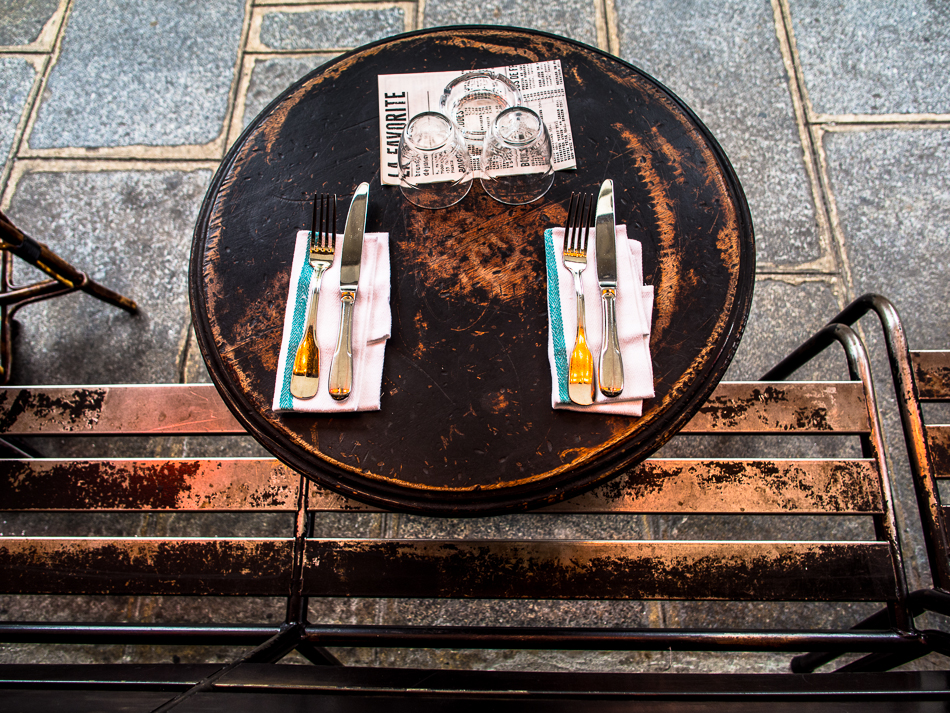
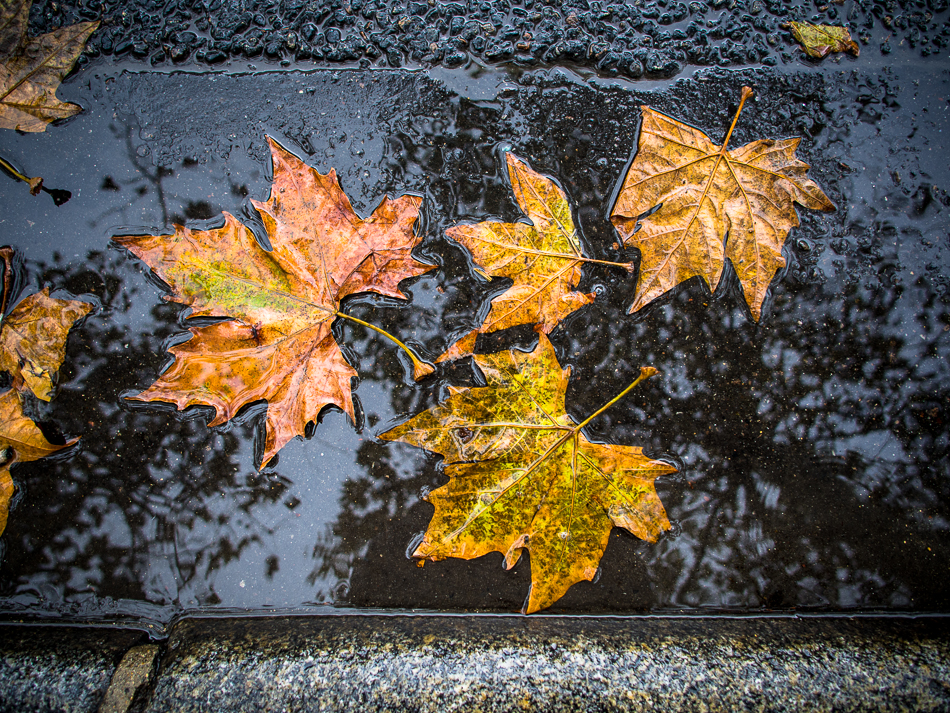
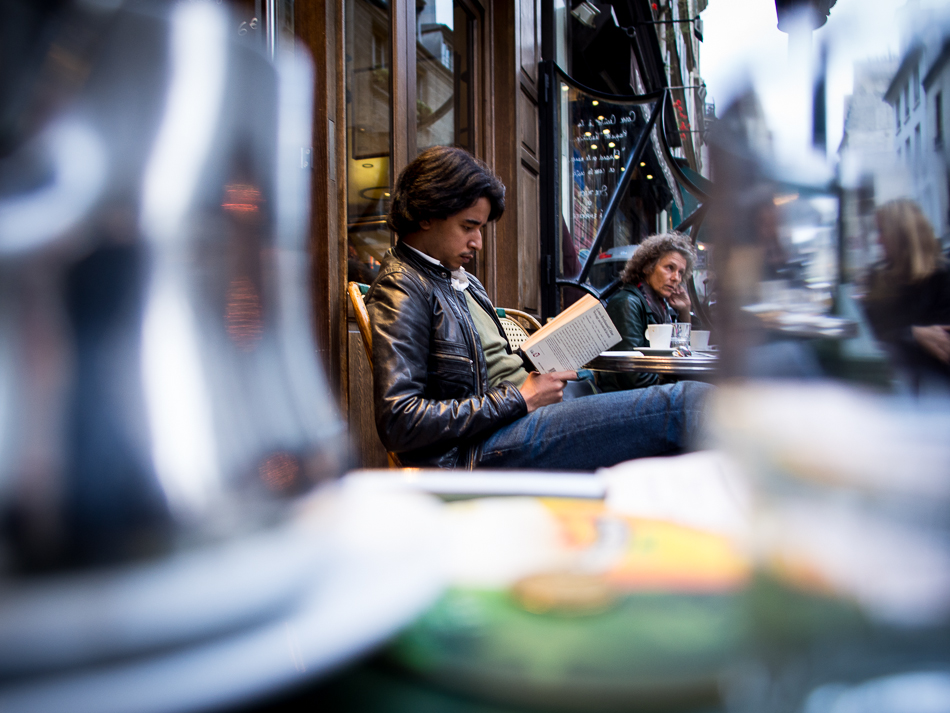



Olympus, here’s a question for you. What’s up? Seriously?….. At $799 you don’t include a lens hood? Why? I purchased the official Olympus LH-48 lens hood for $90 bucks. The LH-48 is a wonderfully machined all metal, screw mount, lens hood. It remained attached to the 12mm and never loosened up the entire trip. I find the LH-48 an essential component to prevent flare and keep light away from the lens elements which would reduce image contrast. There are other lens hoods available for purchase, but after reading reviews I spent my money on the Oly hood. You get what you pay for.

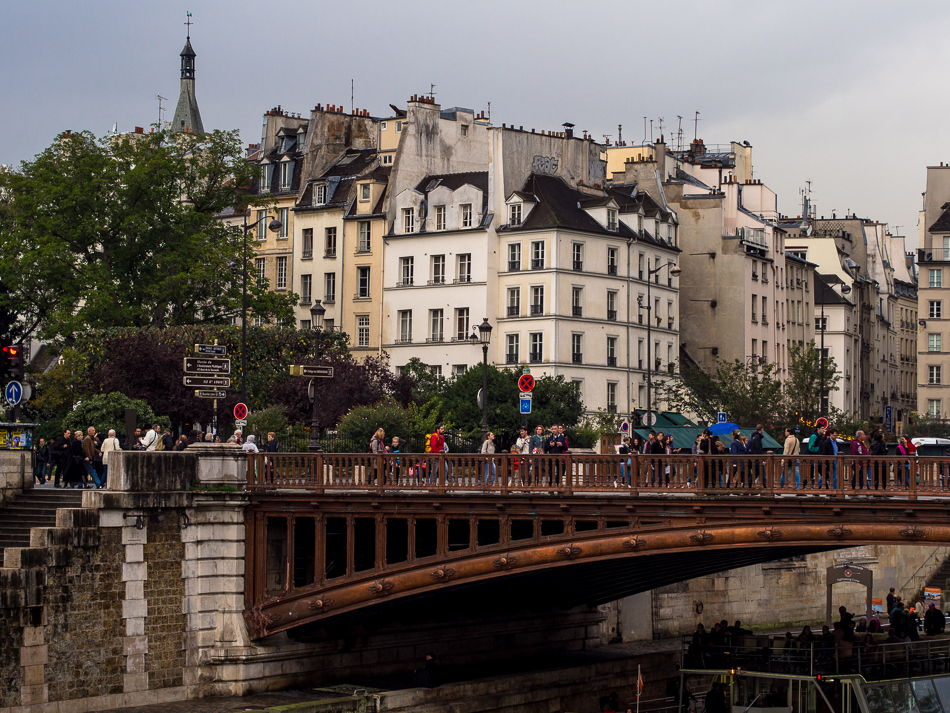
Panasonic Lumix G 20mm 1.7 A pancake lens and 45mm equivalent on MFT’s. A reasonably priced lens at under $400. Lacking the wow factor the Panny 20mm 1.7 does the job but lacks in the sharpness and contrast department compared to the Zuiko 45mm 1.8. It spent the least amount of time of my Oly5. In the long run, I’ll may sell this lens and opt for the Panasonic Leica DG Summilux 25mm f/1.4. Its a bit pricier at $500 but being a Leica lens I’m betting on a world of difference according to all reviews I’ve read.

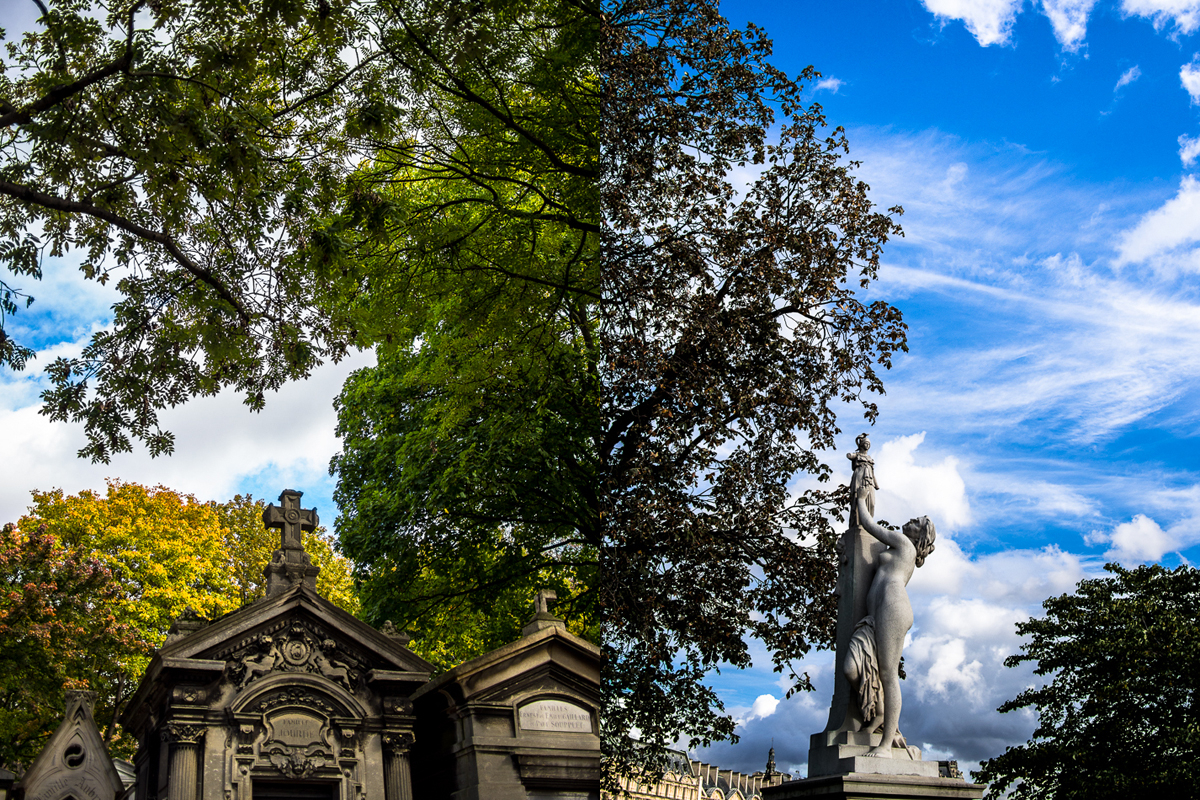
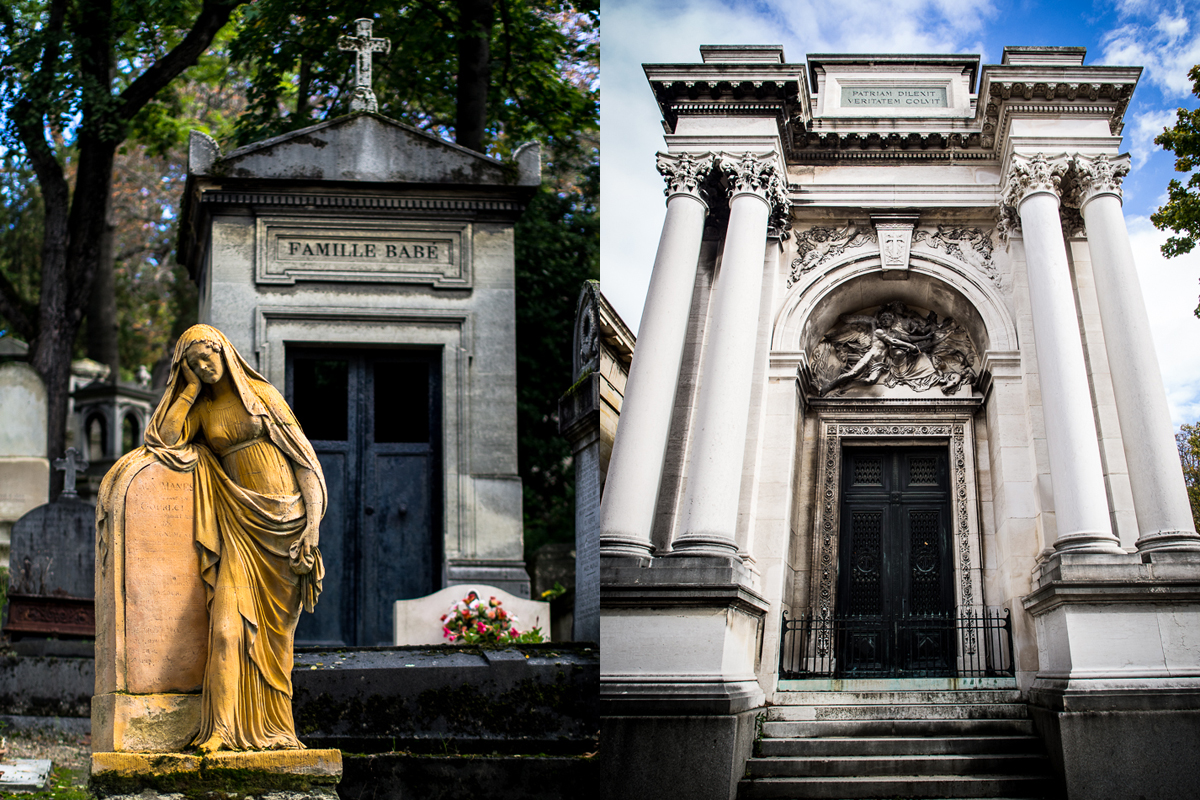
From left to right: Pere La Chaise and Tuilleries, Paris: Panny 20mm shot respetively f1.8 ISO 200 1/1000th sec., f6.3 ISO 200 1/800th sec. Impressed again at the clarity from the Panny 20mm at f1.8.
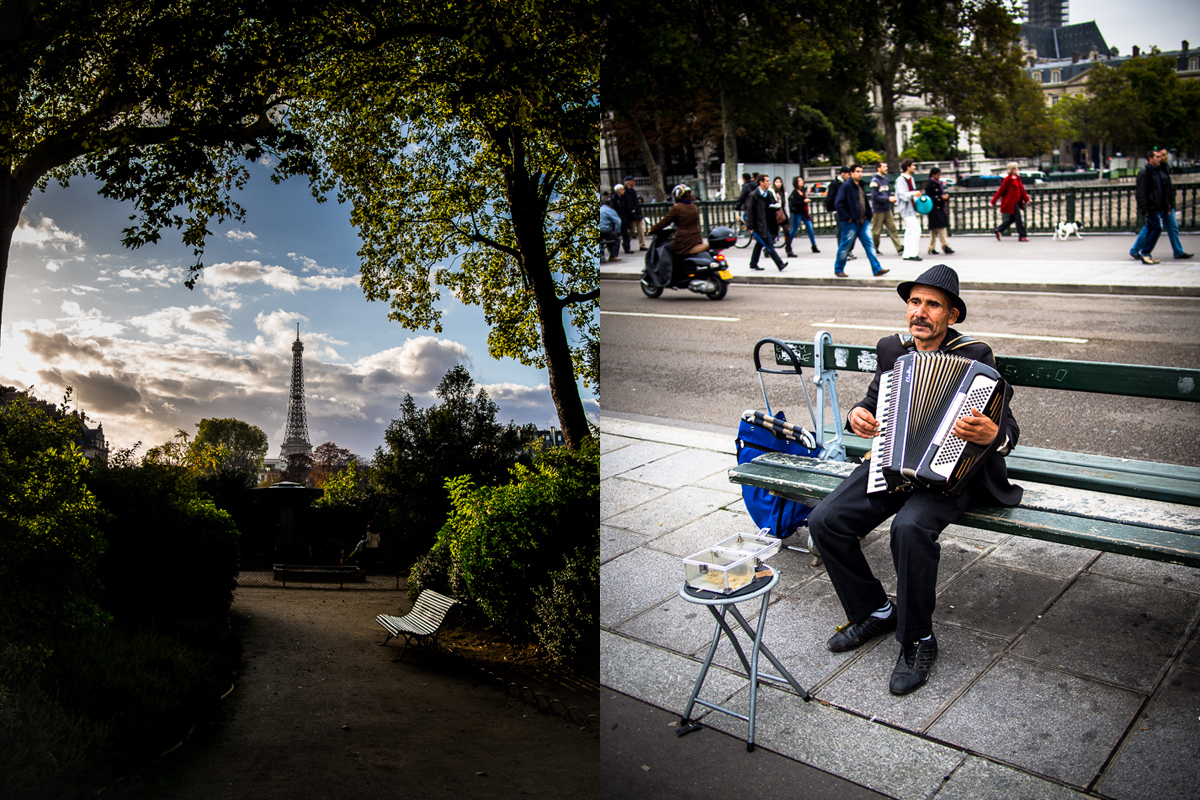
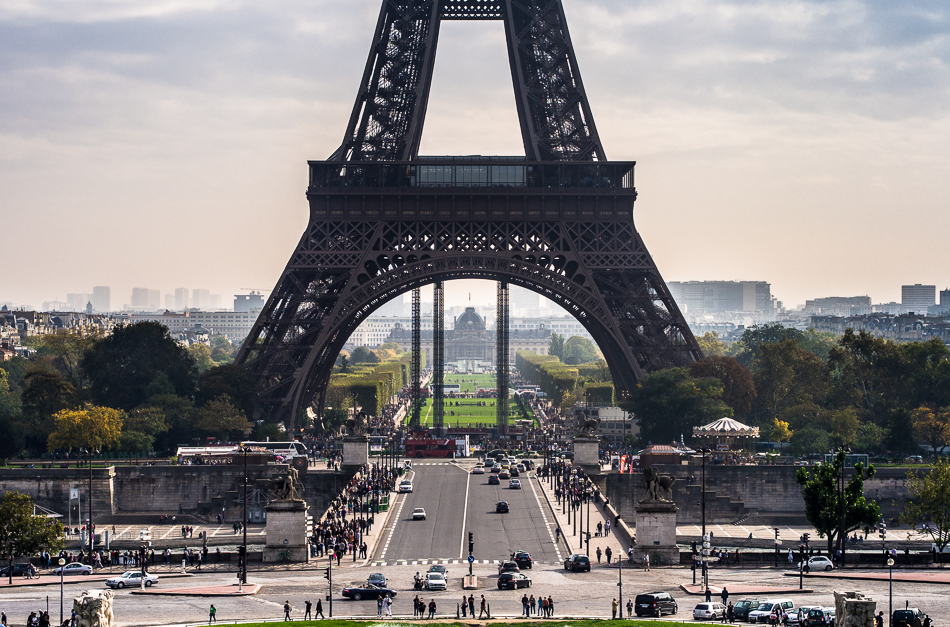
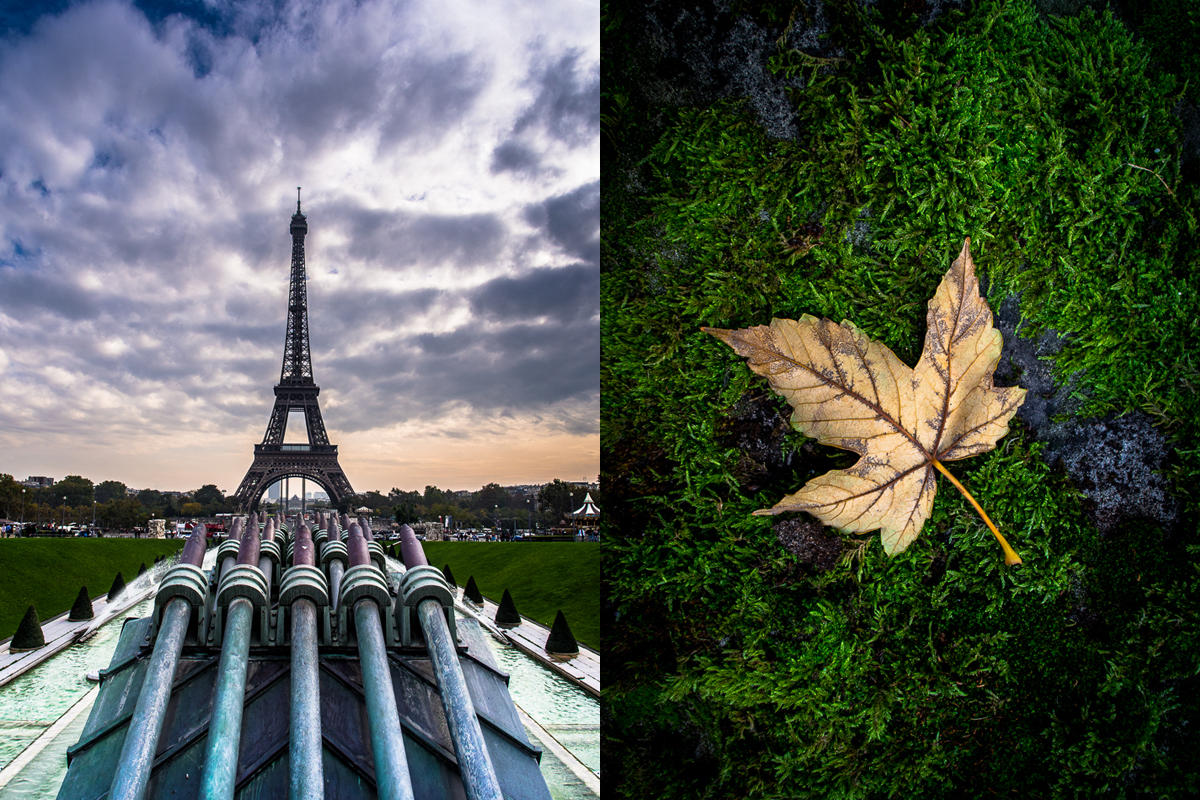
From left to right: Eiffel Tower from Les Invalides, Paris: Panasonic 20mm f8 ISO 200 1/200th sec. Very impressed by the Oly’s ability to hold the dynamic range from bright sunlight to open shade and the subtle lighting on the foreground of the Eifell Tower capture. Man playing accordion near Notre Dame Panny 20mm f1.8 ISO 200 1/200th sec. Impressive sharpness considering that the lens is a f 1.7 and it was a quick grab shot at f1.8.
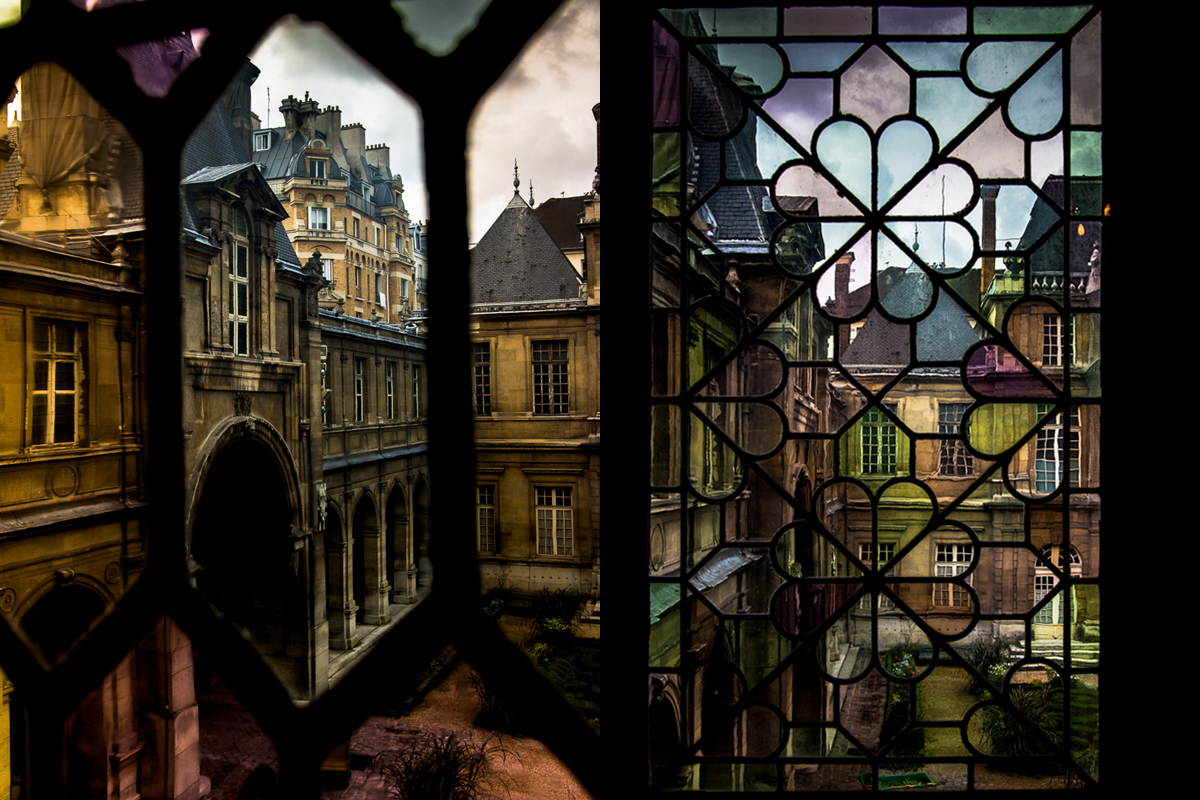
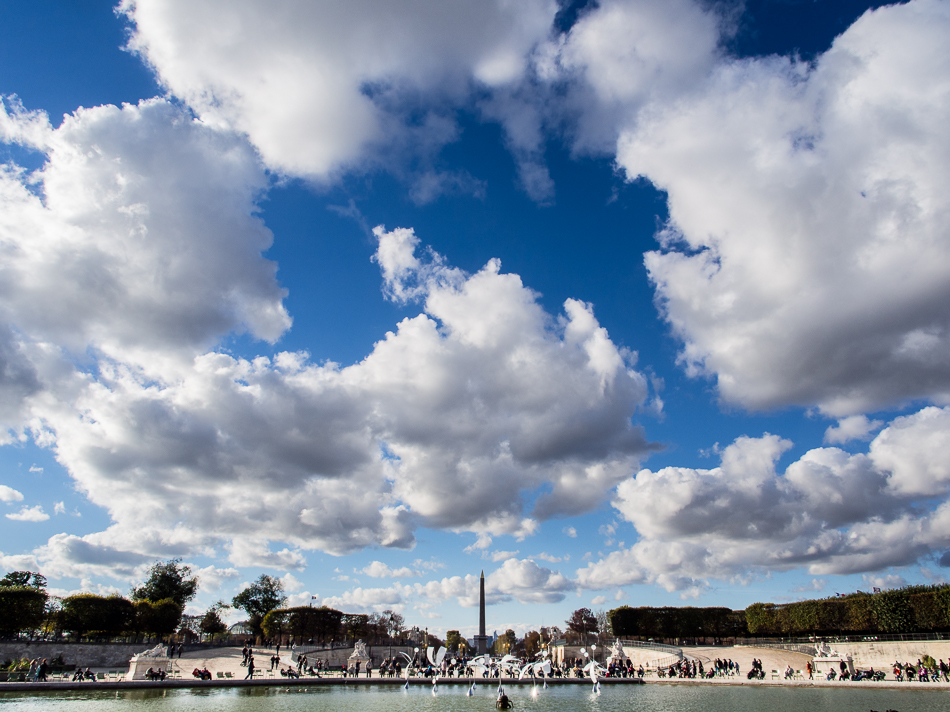
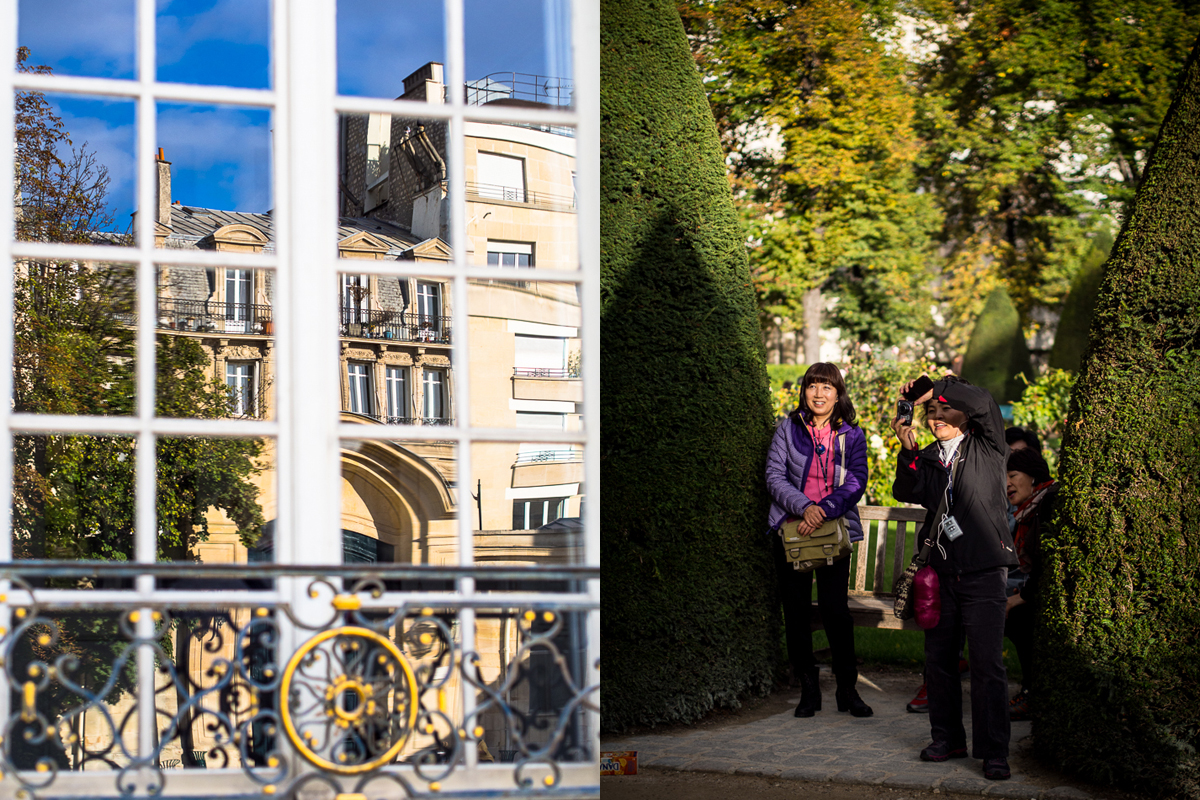
A view from the Musee Carnavalet, Paris: Panasonic 20mm f8 ISO 200 1/60th sec. Stopped down, the 20mm really shines.
Zuiko 45mm 1.8, a 90mm equivalent on MFT’s. This is my favorite lens. Its a steal at $399. A solid build and low profile. It is razor sharp, spends allot of time on the Oly5. Images are rendered with perfect contrast and color and very slight purple or blue chromatic aberration when shooting strongly back light subjects. The CA is easily corrected in Adobe Lightroom4. I do not use a lens shade on the 45mm.
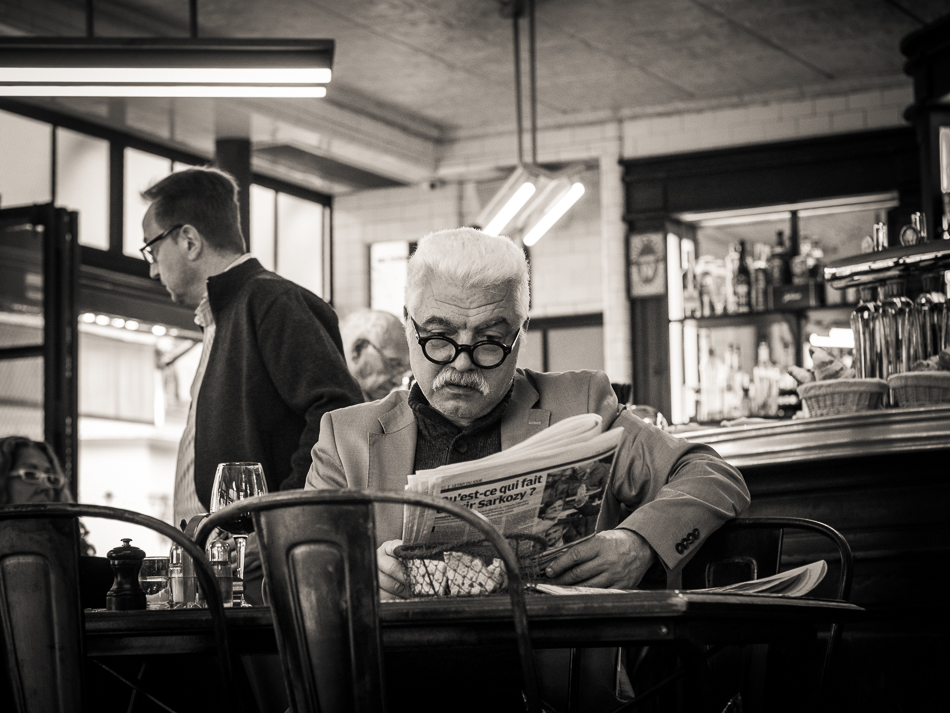
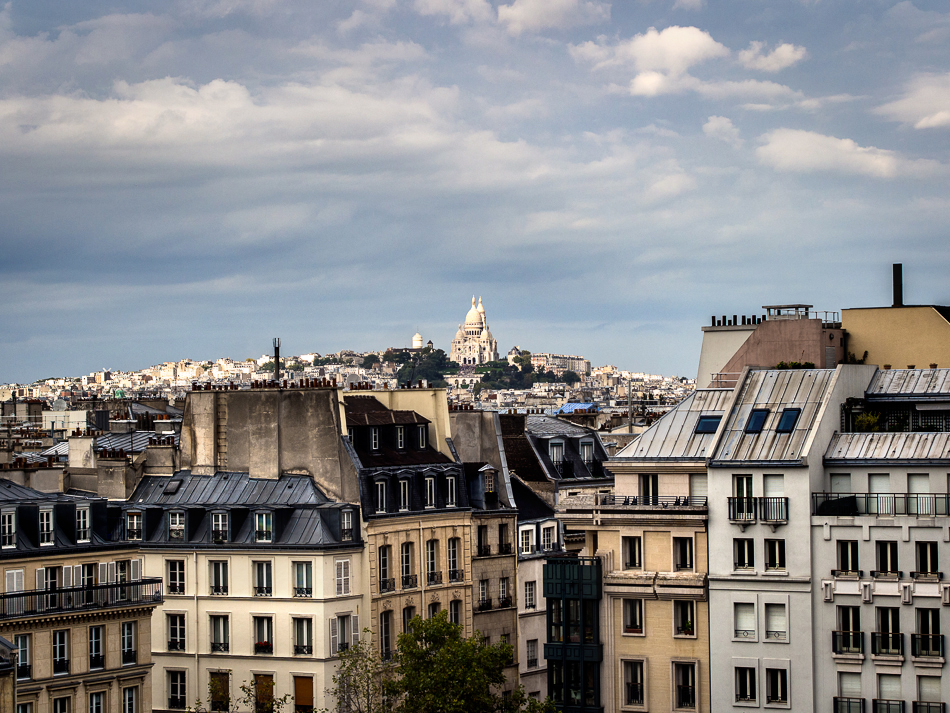
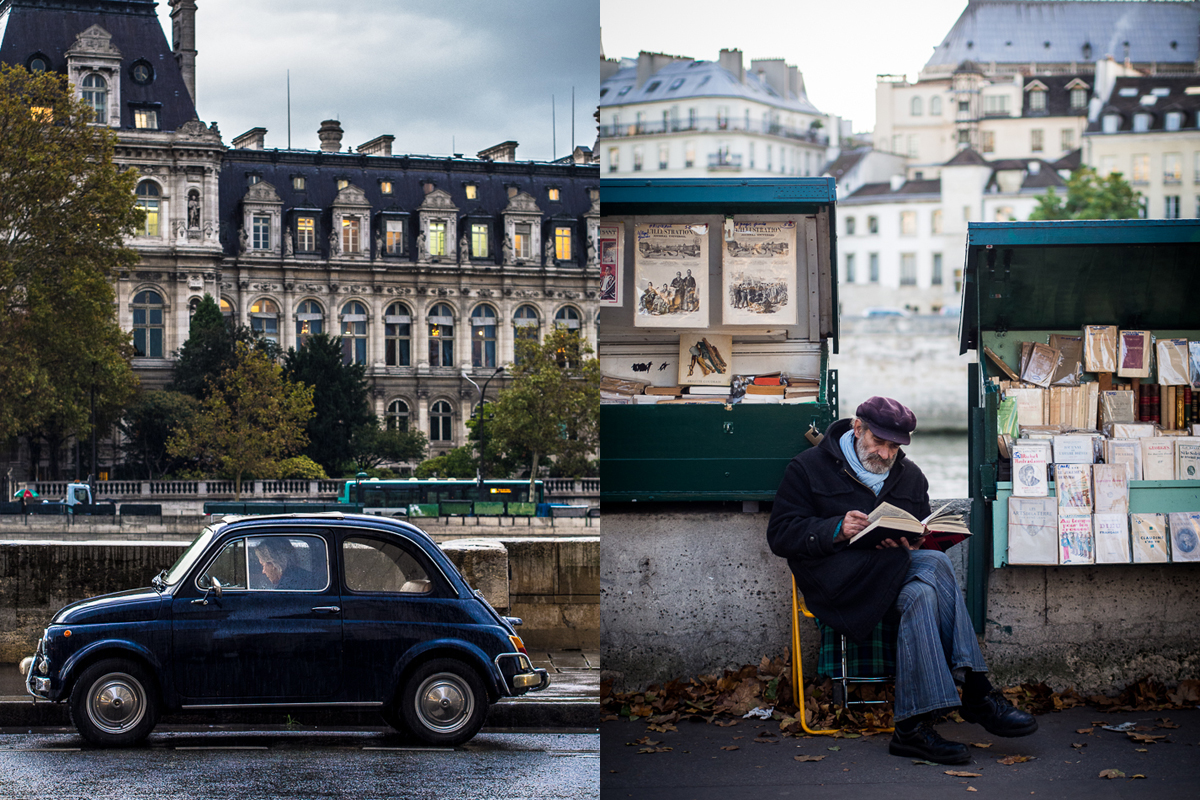
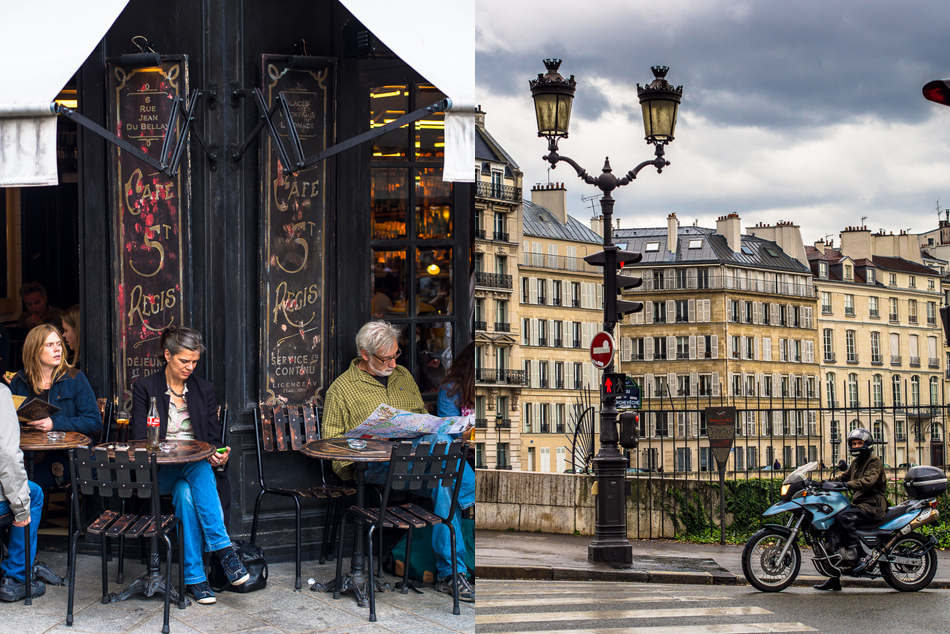
Tiny car and Book Seller near the Seine, Paris: Both images captured with the Zuiko 45mm. Notice the rain drops on the tiny car photographed at f4.5. IMHO this is a sharper image than my Canon is capable of capturing with L glass. The book seller is photographed at f1.8 with wonderful sharpness and a pleasing bokeh.
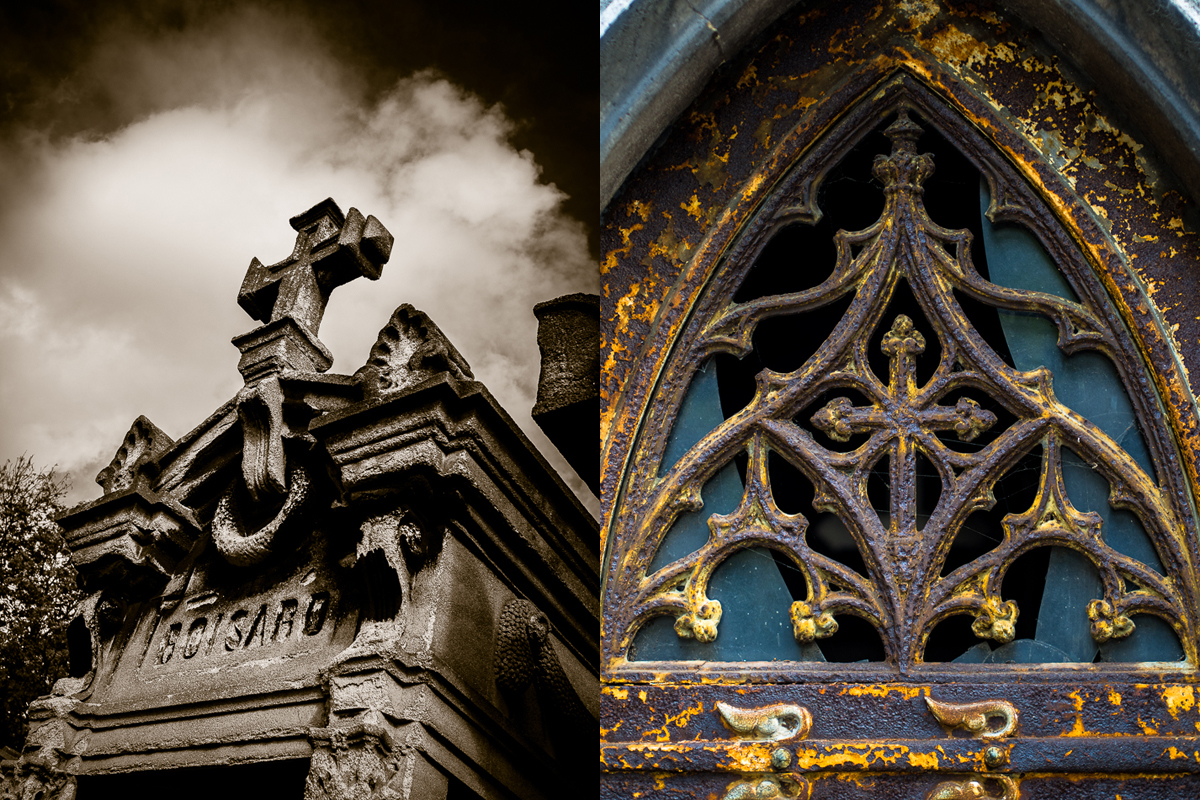 Bokeh ~ The 45mm 1.8 is clearly the winner in this category. A pleasing bokeh is achieved wide open, for portraits and illustrative photography, from a close up focal distance or from a further reach. Coming in 2nd place is the 12mm 2.0 when used in a close up capture situation, distortion will occur.

The Battery & Battery Charger
At $45 dollars the Oly5’s OEM battery’s are pricey. I found that Wasabi makes excellent batteries. The Wasabi batteries come two to order, shipped quickly from Amazon dot com and come with a no cord charger with a hinged AC, hinged, plug on the rear of the charger for only $26. A clear indicator light goes from red while charging to green when fully charged. The bonus is that both the OEM battery and the Oly batter can be charged on Wasabi’s charger. However, only the OEM batter can be charged on the Oly charger. The Oly charger is a cord based charger, making it larger for travel and the indicator light which lights up as Orange during the charge and then turns off when the charge is complete. The orange light is difficult to see. Olympus should take note and make a cordless charger with a fold out plug and a two color charing light similar to Wasabi’s. I found that 3 batteries were sufficient for a full day of shooting, (each battery in about the 200-250 image range) and lots chimping, but did cut it close. In the future I will purchase at least two more batteries and possibly the battery grip too.
Auto Focus
Auto focus is snappy blazing fast with all lenses including the Panasonic 20mm 1.7. There was only one time on the entire trip that it hunted to find focus. It was in dim light on the Seine River shooting a landscape with the razor sharp 45mm 1.8 (my favorite lens). Most of the scene was of equal contrast. I just shifted to a more contrasty part of the scene, achieved focus, recomposed, and captured the image.
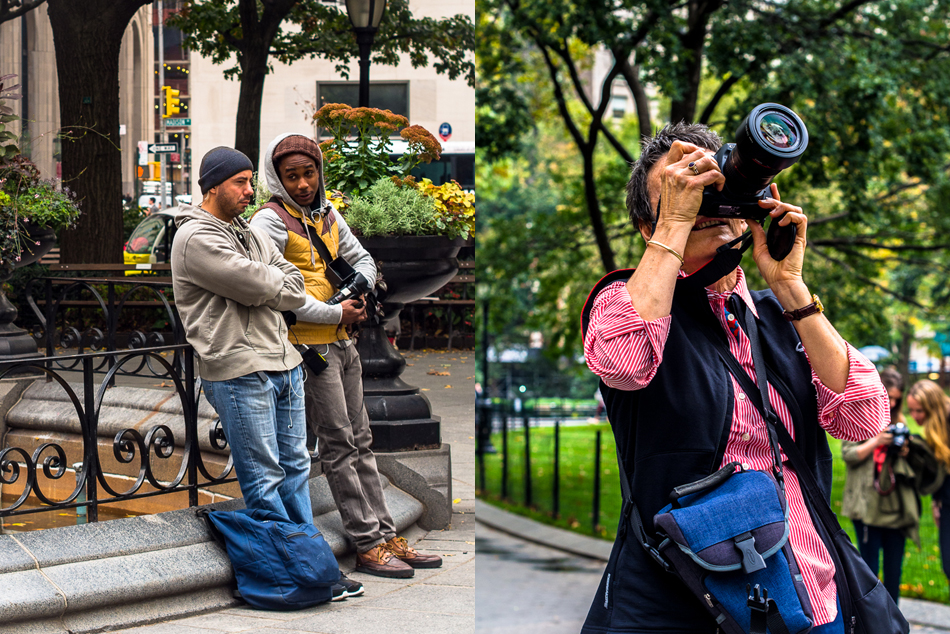
Madison Square Park, NYC. Film crew and Tourist: Both captured with the Zuiko 45mm 1.8.
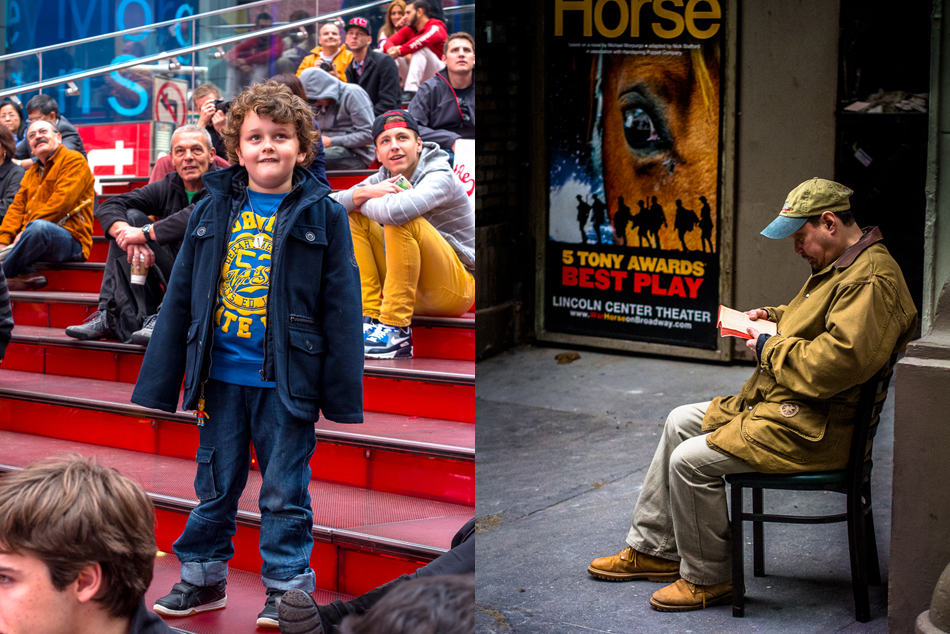
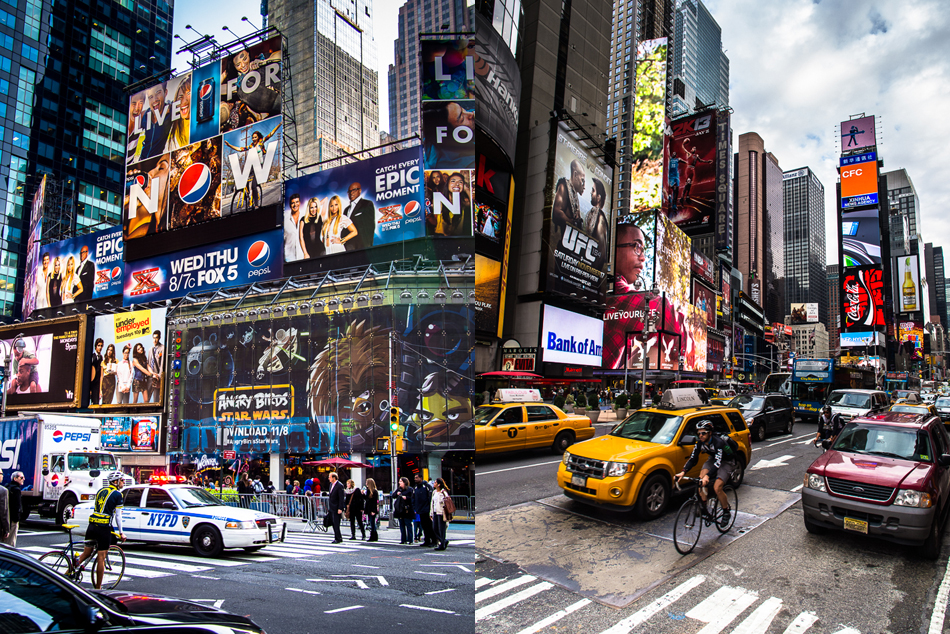
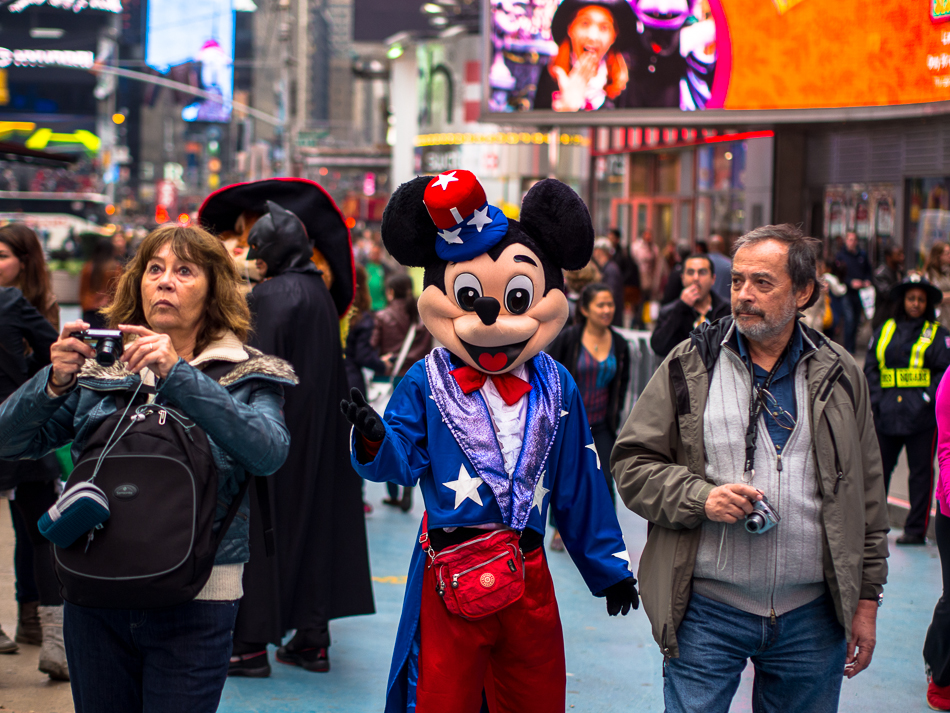
Young Boy Times Square (left), Guarding the Stage Door (right) Both captured with the Zuiko 45mm 1.8
Color Rendition
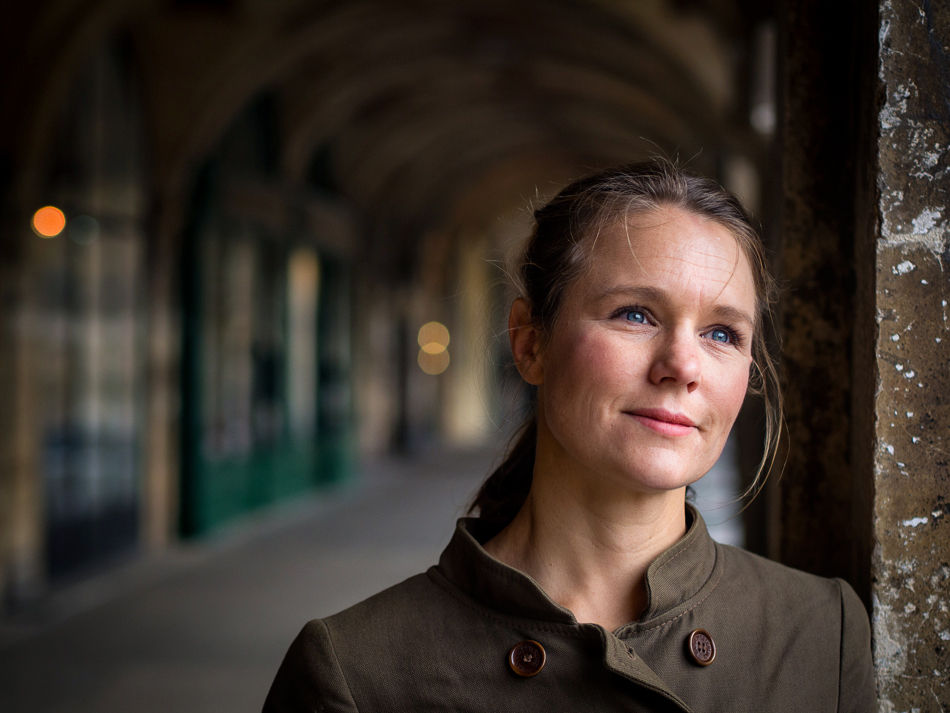
Camera color settings are set to standard. Overall I am extremely pleased with the color rendition the Oly5 outputs. The color balance was permanently set AWB (auto white balance) the entire time and responded brilliantly. The only time i saw a strange color shift is when under exposing my skin which is common to see. However the color shift on my skin went to purple in open shade – portico lighting. It was easily corrected in Adobe Lightroom 4 but the purple color shift struck me as strange because a similar portrait of my friend Paulina, in the same lighting conditions which was also underexposed did not take on that color cast. I’m thinking that because my skin is so fair that the reflectance somehow fooled the camera?
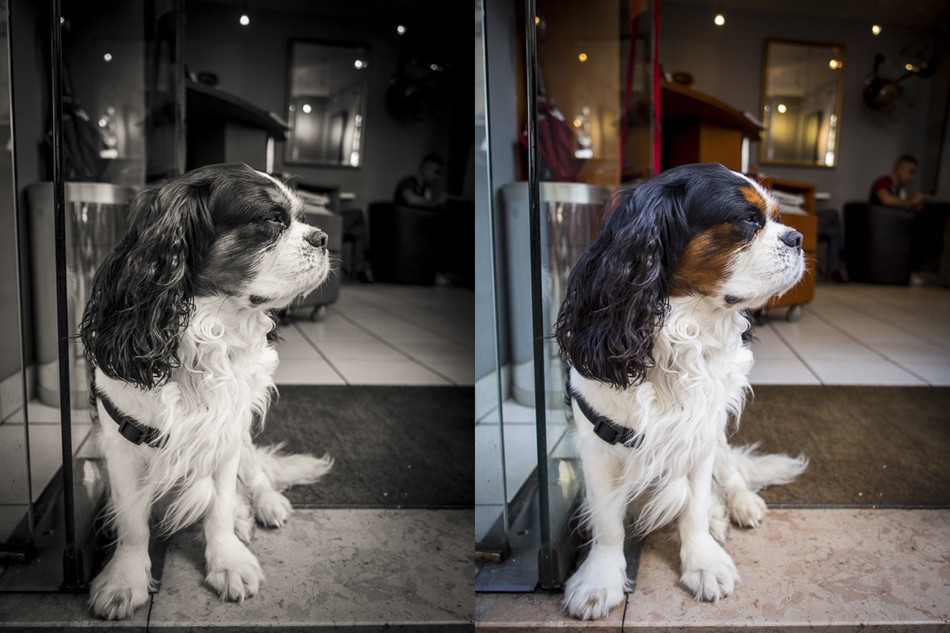
Below is an example of the only time the during my three weeks travel that the Olympus OM-D E-M5’s auto white balance was fooled. The image was easily corrected in LR4.
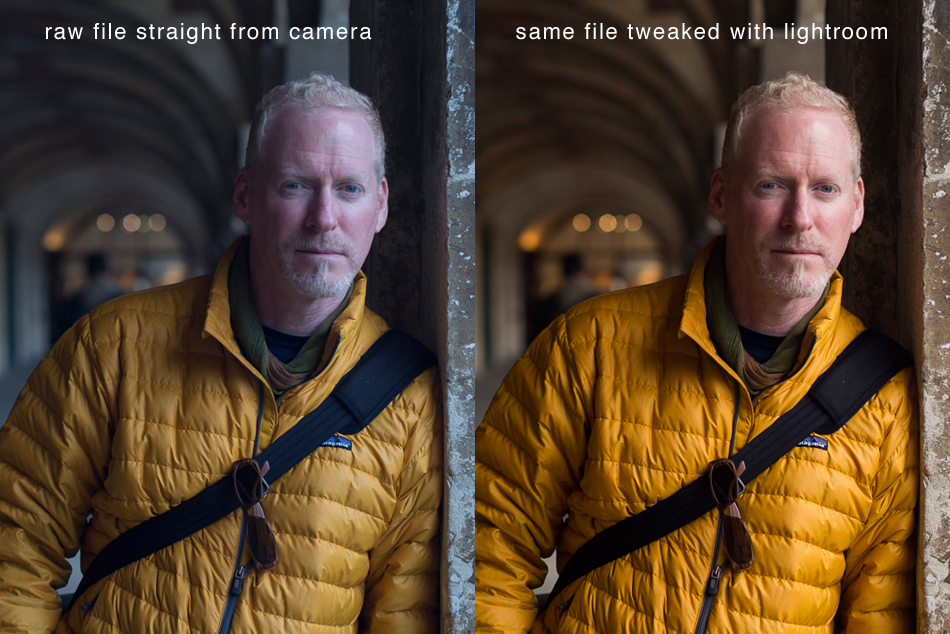
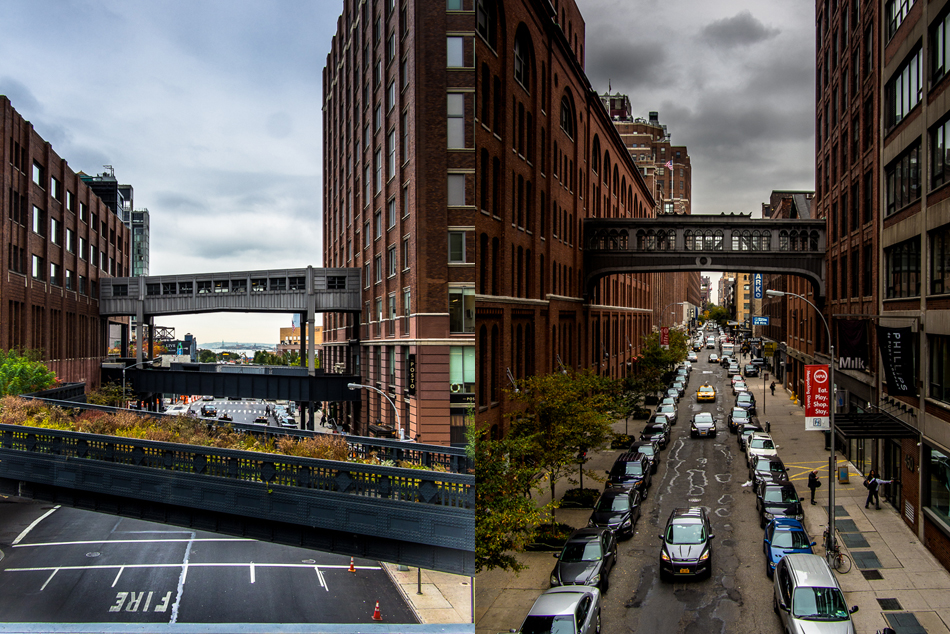
Walking The High Line, New York City: Both captured with the Panny 20mm 1.7 lens. Captured (left) f5.0 and (right) f4.0
Highlights
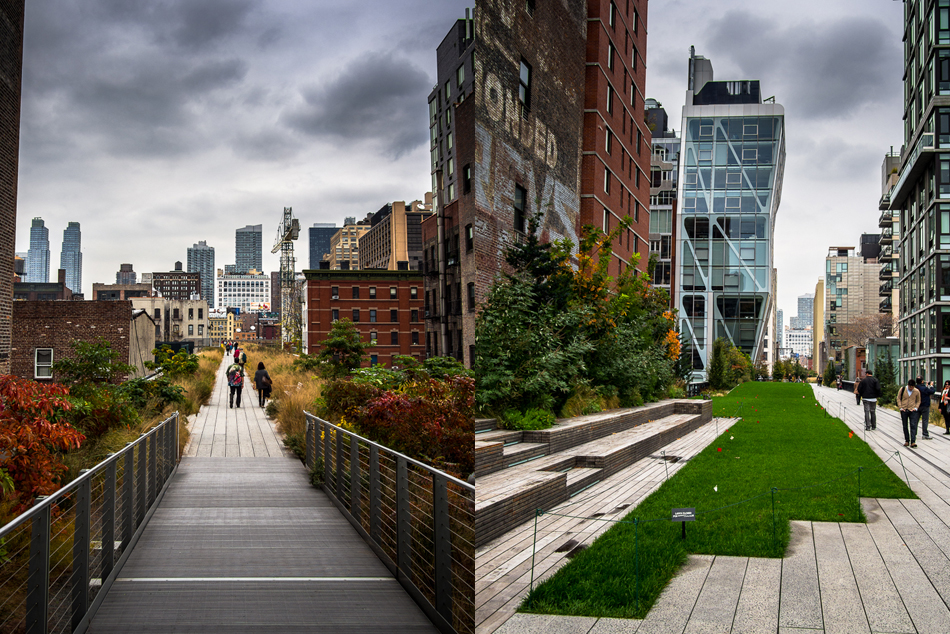
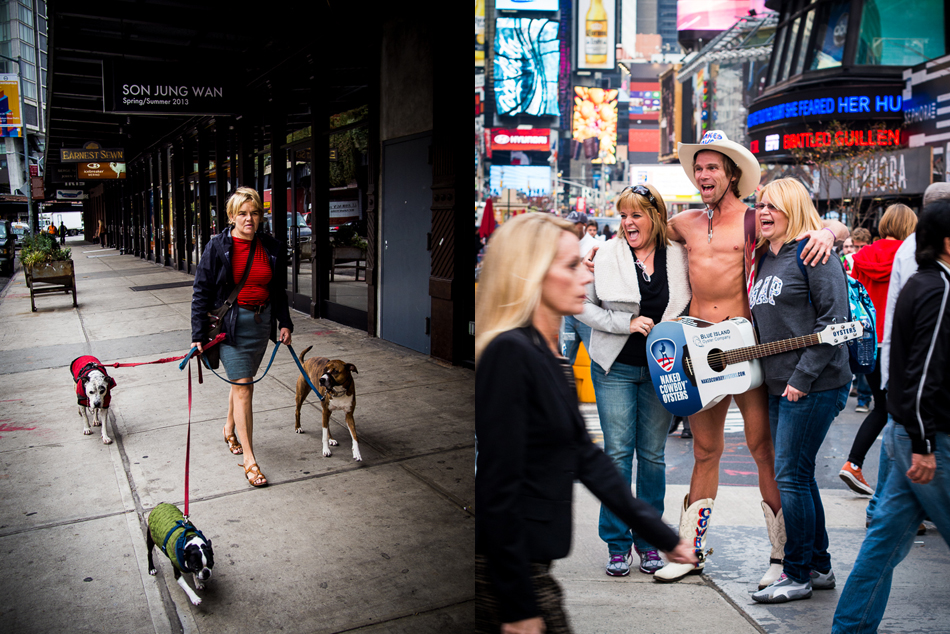
The ability of the Oly5 to hold data in areas that are seemingly overexposed is dramatic. I’ve learned to interpret the scene and expose for the final image. This can be done easily by bringing back the highlights with a gradient and tweaking the highlights, shadows, whites exposure and clarity in the gradient dialogue in Adobe LR4. This works the majority of the time. There are times when the gradient will overlap a crucial element in the scene or portrait and affect the exposure of the subject too much. I’m hopeful that someday, Adobe will create gradients that has similar parameters to the vignetting or post vignetting options or with U Point technology like Nik filters.
Dynamic Range
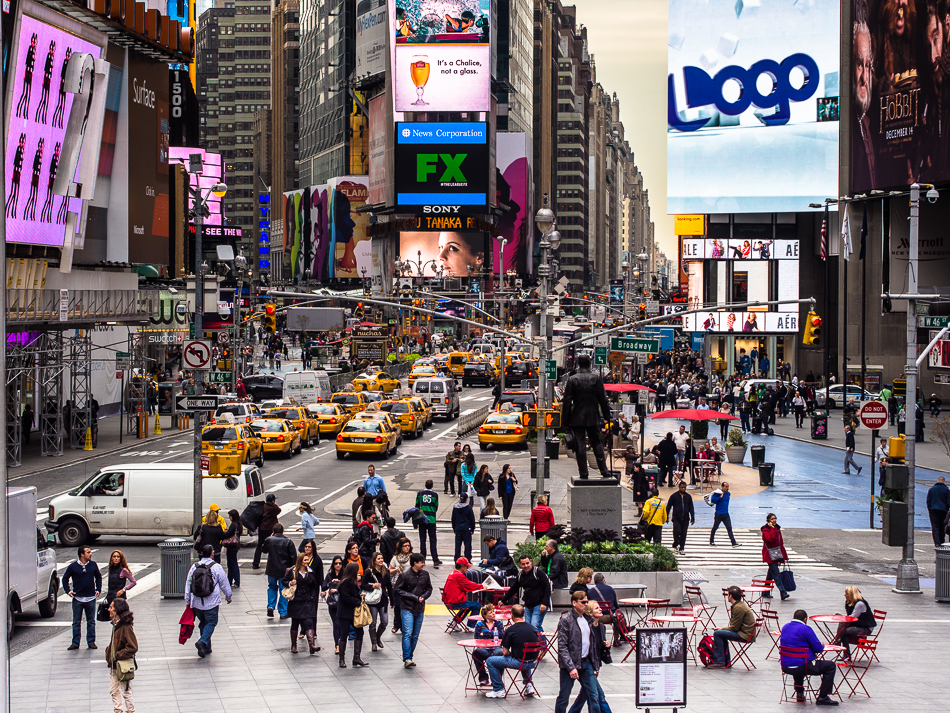
The Oly5 has an impressive dynamic range. When photographing landscapes and people in contrasty situations it was able to hold highlights and shadows beautifully.
Exposure Bracketing
A short coming of the Oly5’s exposure bracketing menu is that once invoked you have to go back into the exposure bracketing menu to turn it off. In this age of HDR photography and with the Oly5’s sophistication, one would think that it would be a no-brainer to have this function. It can though, be assigned to the My Set menu for easier access.
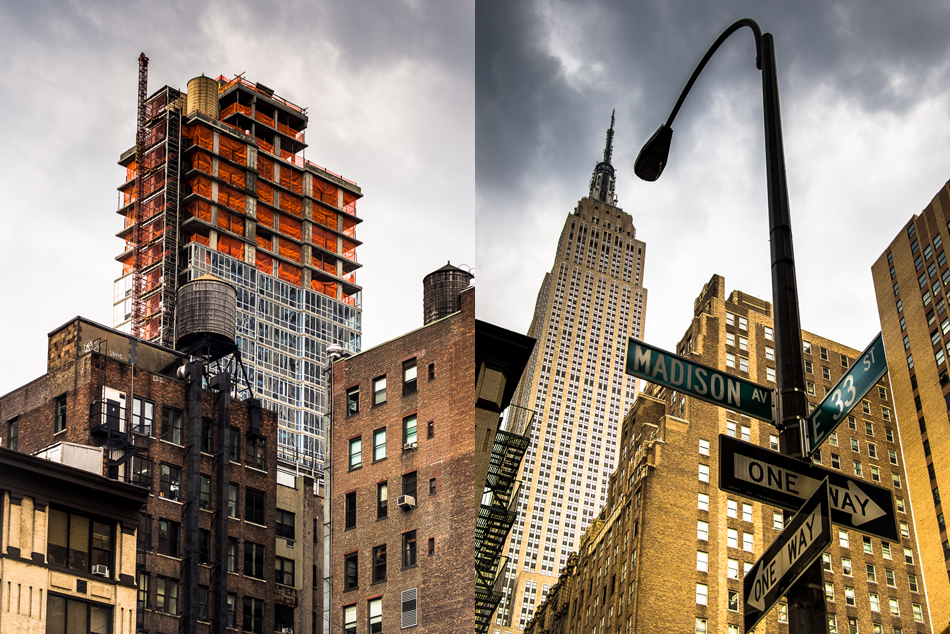
Image Stabilization
Still trying to understand how it is that the images are so sharp from the Oly5. In most cases they rival my Canon EOS 1D Mark III and my L glass. Could it be the image stabilization, the fact that there is no mirror or the relative distance of the rear of the lens to the sensor? Possibly a combination of all three? It is not clear to me yet why the images are so sharp. I can say that without a doubt that the 5 Axis image stabilization works.
The Instruction Manual
To say that the Oly5’s menu system is complex and feature rich is an understatement. IMO there are simply too many features. The manual, unfortunately does not clearly cover some crucial functions of the camera such as how to program My Menu options and how to access the Super Control Panel. Instead of trying to be everything for everyone, Olympus would be better served to delete a large portion of menue and sub menus which would simplify camera usage. I consider myself fairly adept at figuring out electronic gadgets, but it was clear after a few minutes of fiddling around with the Oly5 that I’d have to read the manual to understand how to use the camera. I also found this bit from Dpreview very helpful for fine tuning and understanding the Super Control Panel. At $1000 for the body a niche market is being served. The bells and whistles portion of the menu such as Art Filters, would better serve the general public. It seems that the Oly5 is aimed squarely at the photo-enthusiast or pro-level photographer, who doesn’t need a myriad of extraneous menus that have nothing to do with shutter speed, f/stop and programing the cameras function buttons. IMO the menus on the Oly5 although fairly easily accessible are too robust and contain more options than my Canon EOS 1D Mark III which is a professional grade body.
Programing the “My Set” menu is anything but intuitive. For a cryptic understanding of how to set up the My Set menu on the Oly5 see page 42 of the instruction manual. Or, this bit on the E-M5 Resource blog may help.
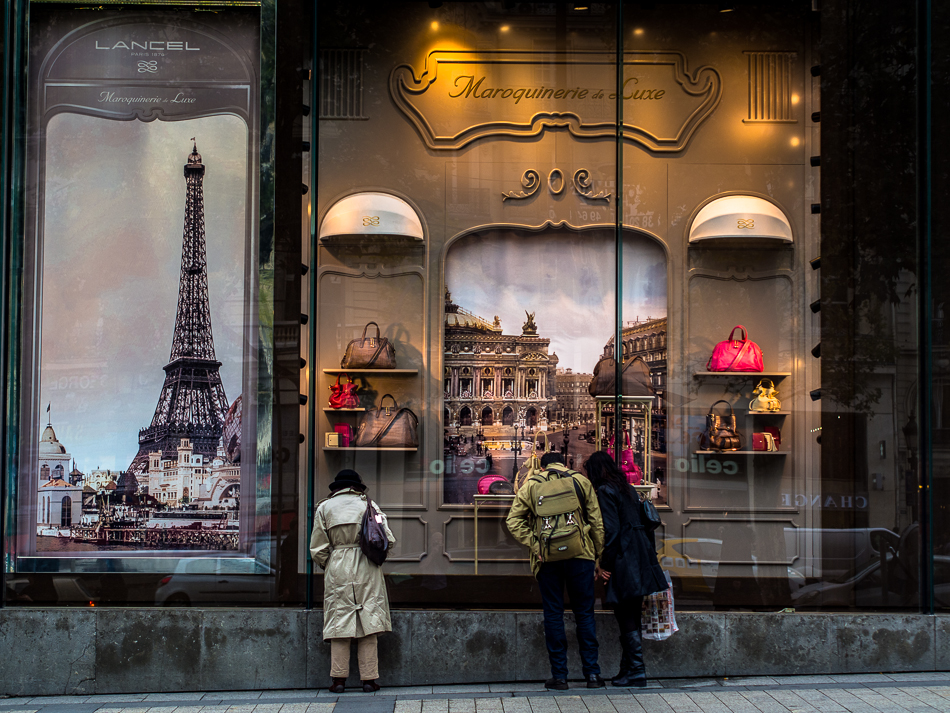
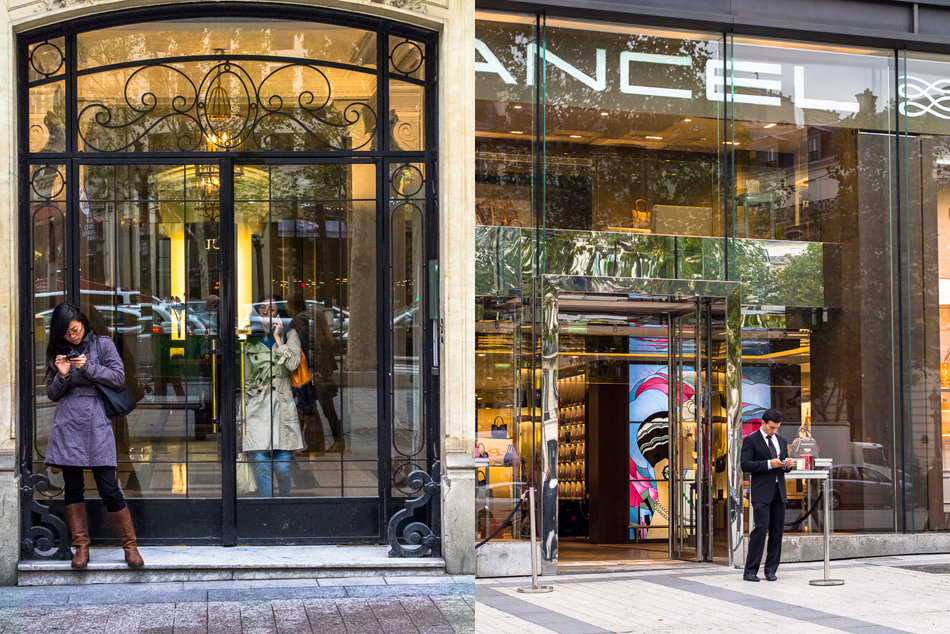
Window Shopping, Champs Elysee, Paris: Zuiko 45mm
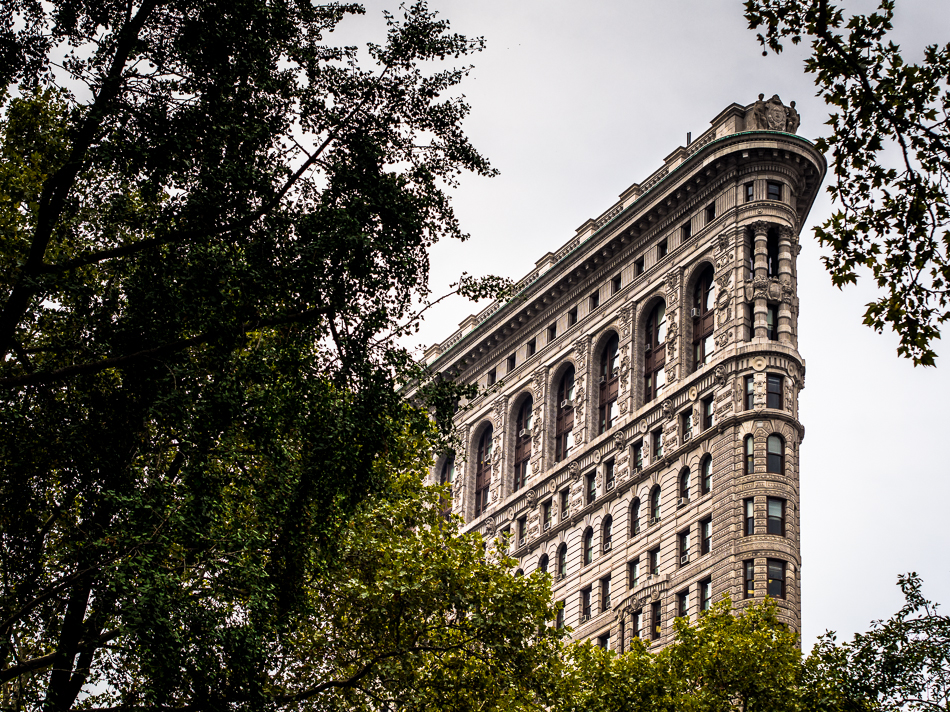
Flat Iron from Madison Square Park, NYC: Zuiko 45mm
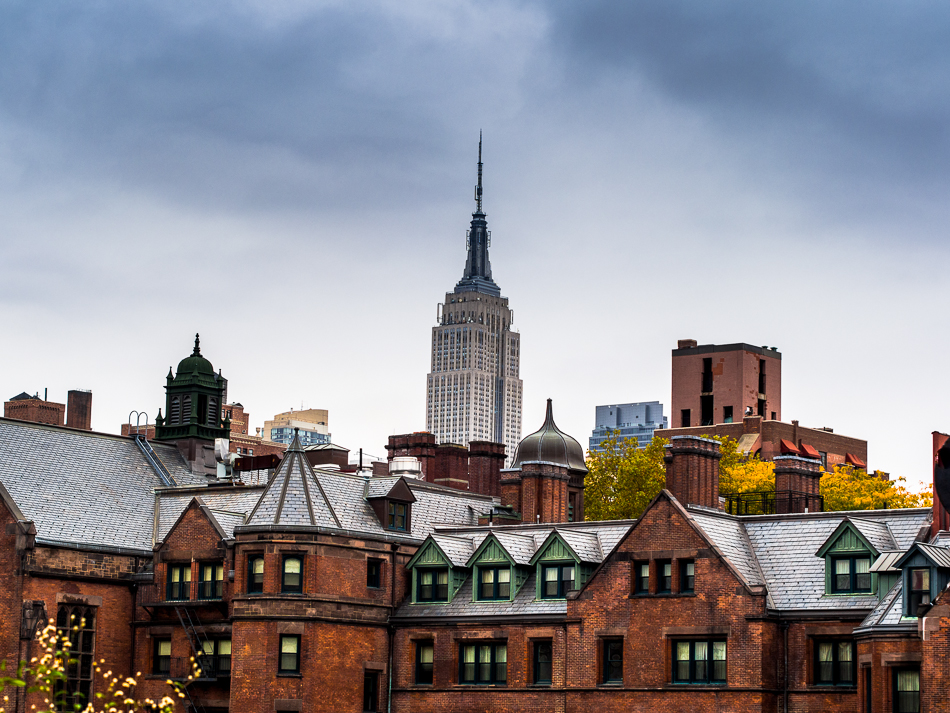
Empire State Building from The High Line, NYC: Zuiko 45mm
Niggles
Because there are so many little buttons and controls on the Oly5, it is very easy to accidentally depress a button and change a menu item which affects how you have set up your camera. This happened to me several times while street shooting in Paris. A few issues that I experienced in the field are: The focus point being moved to a new area, dramatic ISO shifts from 200-20,000 and the shooting mode changing. These are annoying little niggles that could be easily fixed with a lock feature embedded in the software. Especially when it comes to the Super Control Panel (SCP) which can be easily accessed by depressing the “OK” button on the rear of the camera. Access is excellent and the menu is touch screen operated. When accessing the densely populated SCP it is very easy to access the wrong subset and change it without even being aware that a change has taken place. This is where a locking feature would come into play. A warning or dialogue could flash on the screen asking if you are sure that you’d like to make a change. Once or twice settings were dramatically changed unbeknownst to me, without even accessing the menu. I chalk this up to possibly/accidentally touching the “OK” button on the camera’s rear without even knowing it. An overall lock feature would be great and prevent dramatic changes to user defined parameters.
There were times when my camera would go to sleep and not wake up when the shutter button was slightly depressed to wake it up. Turning it on and off would wake it up but the moment was gone.
Editing in Adobe Lightroom 4
Every time a new camera is released editing software must be updated by photo editing software companies. Sometimes the software releases are free other times we as professional photographer need to pay for them. Such was the case with the Oly5. My go to photo culling software is Photo Mechanic by Software Bits did not yet support the Oly5. The cost to upgrade from v3 to v4 was $99 US. I’ve used PhotoMechanic for the last 7 years and it rocks. I’ll continue using it for all my photo culling from my shoots with my Canon gear. You can read more about Photo Mechanic here (middle of the article). At the same time I needed to be able to do post production on my RAW images. Since LR3, my go to post production image editing software, did not support the new Oly5 that had to be upgraded as well to LR4, also $99. Being a professional photographer is not an inexpensive endeavour. A decisive financial decision had to be made. The logic $99 decision was to upgrade to LR4. In it both photo culling and post production can accomplished seamlessly and quickly. The best of both worlds would have been to spend $200 on both it just didn’t make sense at the time.
The LR4 upgrade was well worth it. And I was able to kick the tires for a bit with their 30 day test drive. LR4 offers more control over highlights, whites and shadows which affects the overall image density leaving me with an edge over LR3 and a better overall looking image. The changes are subtle and completely worth the $99.
LR4 does a fantastic job allowing me to, cull, keyword, tweak: exposure, color, saturation, highlights, shadows, use gradients, sharpen and so much more on the RAW Oly5 images. Its the back singers and orchestra to my images.
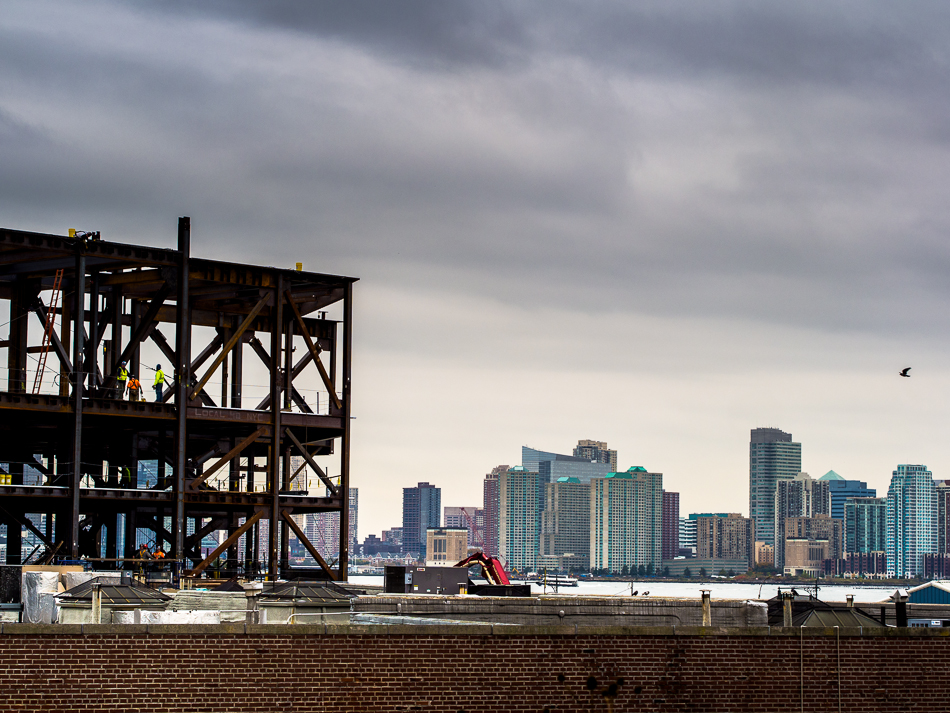
New Jersey across the Hudson River, NYC: Zuiko 45mm
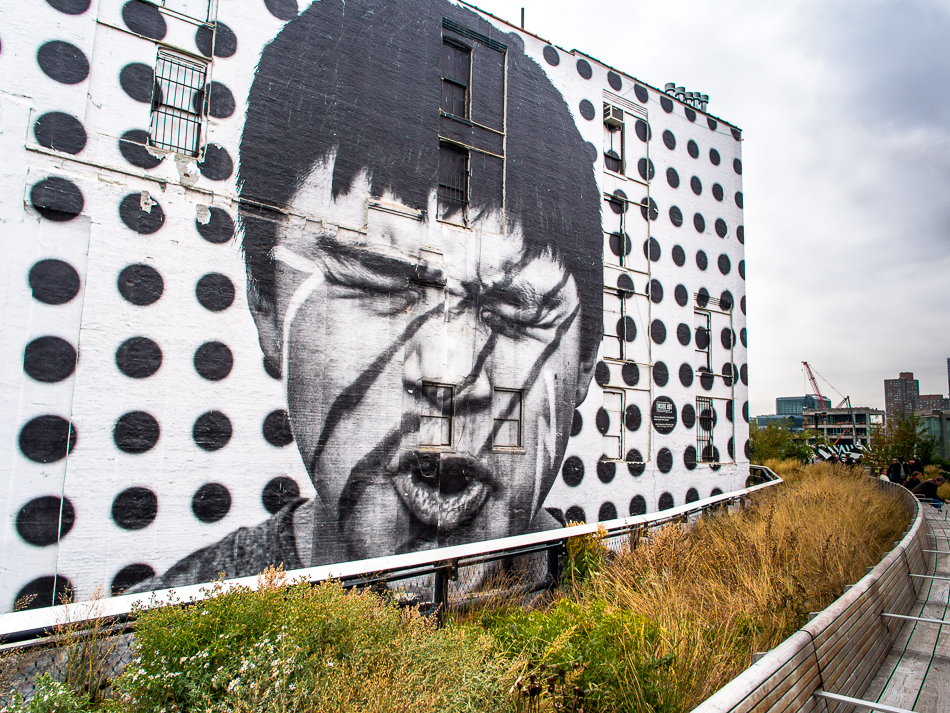
Public Art – The High Line, NYC: Zuiko 12mm
Conclusion
Olympus OM-D E-M5 is an pleasure to use. It was a great departure from my previous visit to Paris when I would typically cary with me a Canon Mark 5, Canon EOS 1D Mark III, 24mm-70mm f2.8 L, 15mm fish eye, 70mm-200mm IS 2.8 L, and 50mm 1.2 L. At the end of the day my shoulders and lower back would be sore and I’d wake up in the morning knowing that I’d carried around 15-20 pounds of gear and knowing that I was going to do the same thing again.
My Oly5 when not in my hand or on my shoulder fit safely in my Think Tank Retrospective 5 shoulder bag. with a rain jacket, my primes, extra batteries, maps, a bottle of water, passport, wallet and some business cards. My bag and gear was so light I barely noticed the weight. Consequently my shoulder and back didn’t suffer from fatigue or pain at the end of a long day of shooting typically 7-8 hours.
I couldn’t be happier with the portfolio of images I returned with and feel that they are compatible and in some cases exceed in sharpness what my Canon EOS 1D Mark III with L glass is capable of.
What’s missing for me has nothing to do with the camera, but with my current collection of lenses for the Oly5. The longer end of the visual range is missing: the 70mm-200mm IS 2.8 L – 35mm equivalent, which would be a 140mm – 400mm on the Oly5. The 45mm 1.8 is a 90mm equivalent on a MFT’s body. When shooting landscapes I was limited by the 90mm reach of the 45mm. Right now $1500 for the Panasonic 35m-100mm 2.8 OIS is a bit steep. Instead I may opt for the Zuiko 75 1.8, another razor sharp Oly lens which weighs in at $899 and is about 45% less in cost than the Panny. Time will tell. For now I’m a MFT’s convert and am extremely satisfied with the Oly5 which has trusted place in my arsenal and is IMHO the perfect travel rig. I know what the Oly5 is capable of and will take it as a back up rig when using my Canon EOS 1D Mark III on professional shoots.
p.s. WordPress Bloggers: I’ve been looking for an solution to posting my images as sharp as possible. Its so annoying to have wonderfully sharp images from what ever post production that you happen to use and then post your images on your WordPress blog and see that they are soft and no longer sharp. There is some type of compression used when uploading your images to your WordPress blog that does soften them even when properly sized, there just isn’t any way around it. For my post production output, my images are ingested and output through Adobe Lightroom 4 ® at 950×950 pixels at 100 dpi and sharpened Standard in LR4. They look amazing on screen but then are soft when uploaded WP. I’m delighted to share with you a plugin that I recently found called Sharpen Resized Images and you can find it here. Its simple and it works. It will not sharpen previously uploaded images but will sharpen anything that you upload after the WP Plugin is activated. I’ve used it for the first time with all the images in this post and couldn’t be happier.
p.p.s. Big thanks to Mr. Steve Huff and Mr. Ming Thein for their excellent articles on the Olympus OM-D EM-5.
Looking to bring your photography skills to the level? Check out 1 on 1 mentoring with Marc.


